Fritto Misto Fish & Veggies: A Crispy Delight for Cooking Easy Recipes
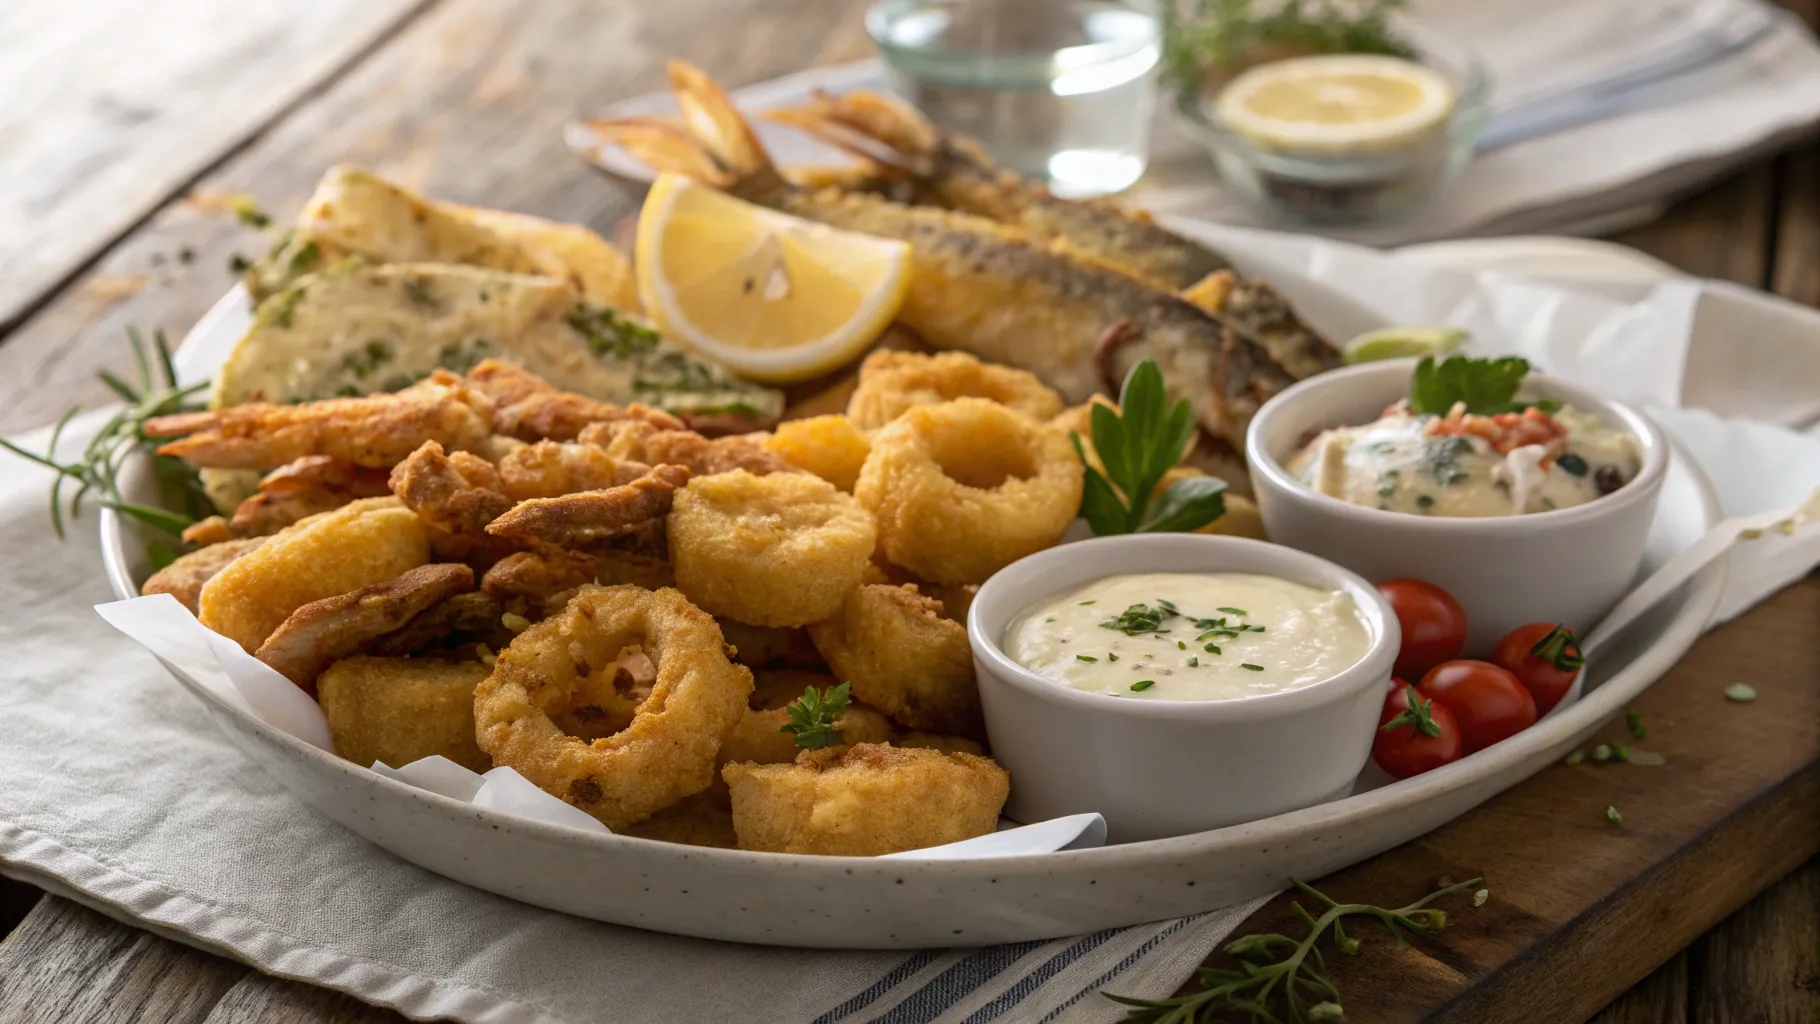
When it comes to cooking easy recipes that impress, few dishes can match the charm and flavor of a well-made Fritto Misto. This Italian classic combines seasonal vegetables and fresh fish, all deep-fried to golden perfection and served with a trio of creamy, flavorful mayonnaises. It’s the kind of dish that’s perfect for sharing with loved ones over a glass of wine, whether as a starter, a light nibble, or a delightful aperitivo.
This recipe celebrates the joy of simple ingredients transformed by technique and a few clever tweaks. Let’s dive into how to make this crispy, delicious Fritto Misto with some handy tips and tricks for an unforgettable meal.
Making the Perfect Crunchy Batter
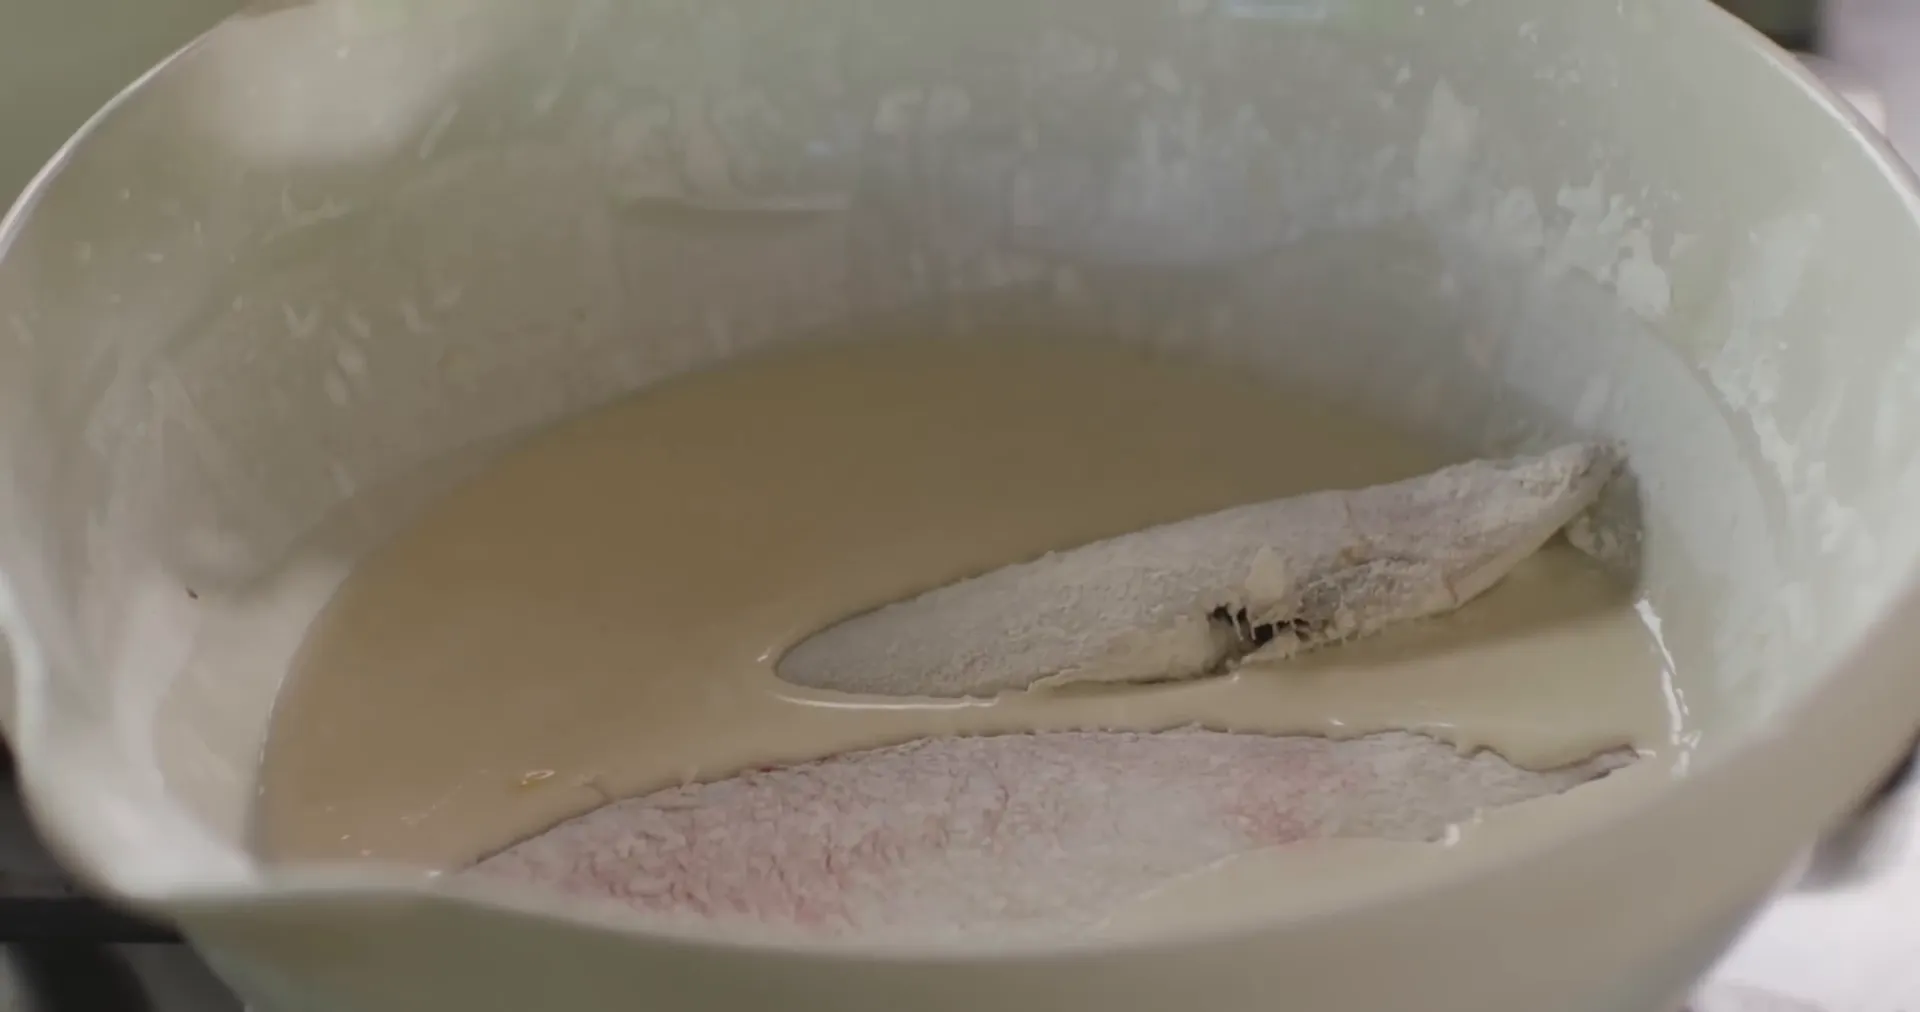
The secret to a great Fritto Misto lies in its batter. Start with a mix of 100 grams of plain flour and 100 grams of cornflour. This combination gives you a wonderfully crunchy texture that’s light and crisp. Season the flour mixture with a generous pinch of salt.
Next, loosen the flour with water—sparkling water if you have it, for an extra lightness, but still delicious with plain water. Stir gently, not too thoroughly, to keep the batter slightly lumpy and avoid developing gluten, which can make the coating tough. The batter should be about the consistency of double cream—thick enough to coat the back of a spoon but still fluid enough to cling to your veggies and fish.

Getting the Oil Temperature Just Right
For deep frying, use a large, sturdy pan filled with about three inches of sunflower oil. To test the temperature, drop in a piece of potato. When it bubbles steadily and turns golden, the oil is ready—usually around 180°C (350°F). This traditional method helps regulate the heat without a thermometer, but safety first: make sure your cooking area is secure, especially if there are kids around.
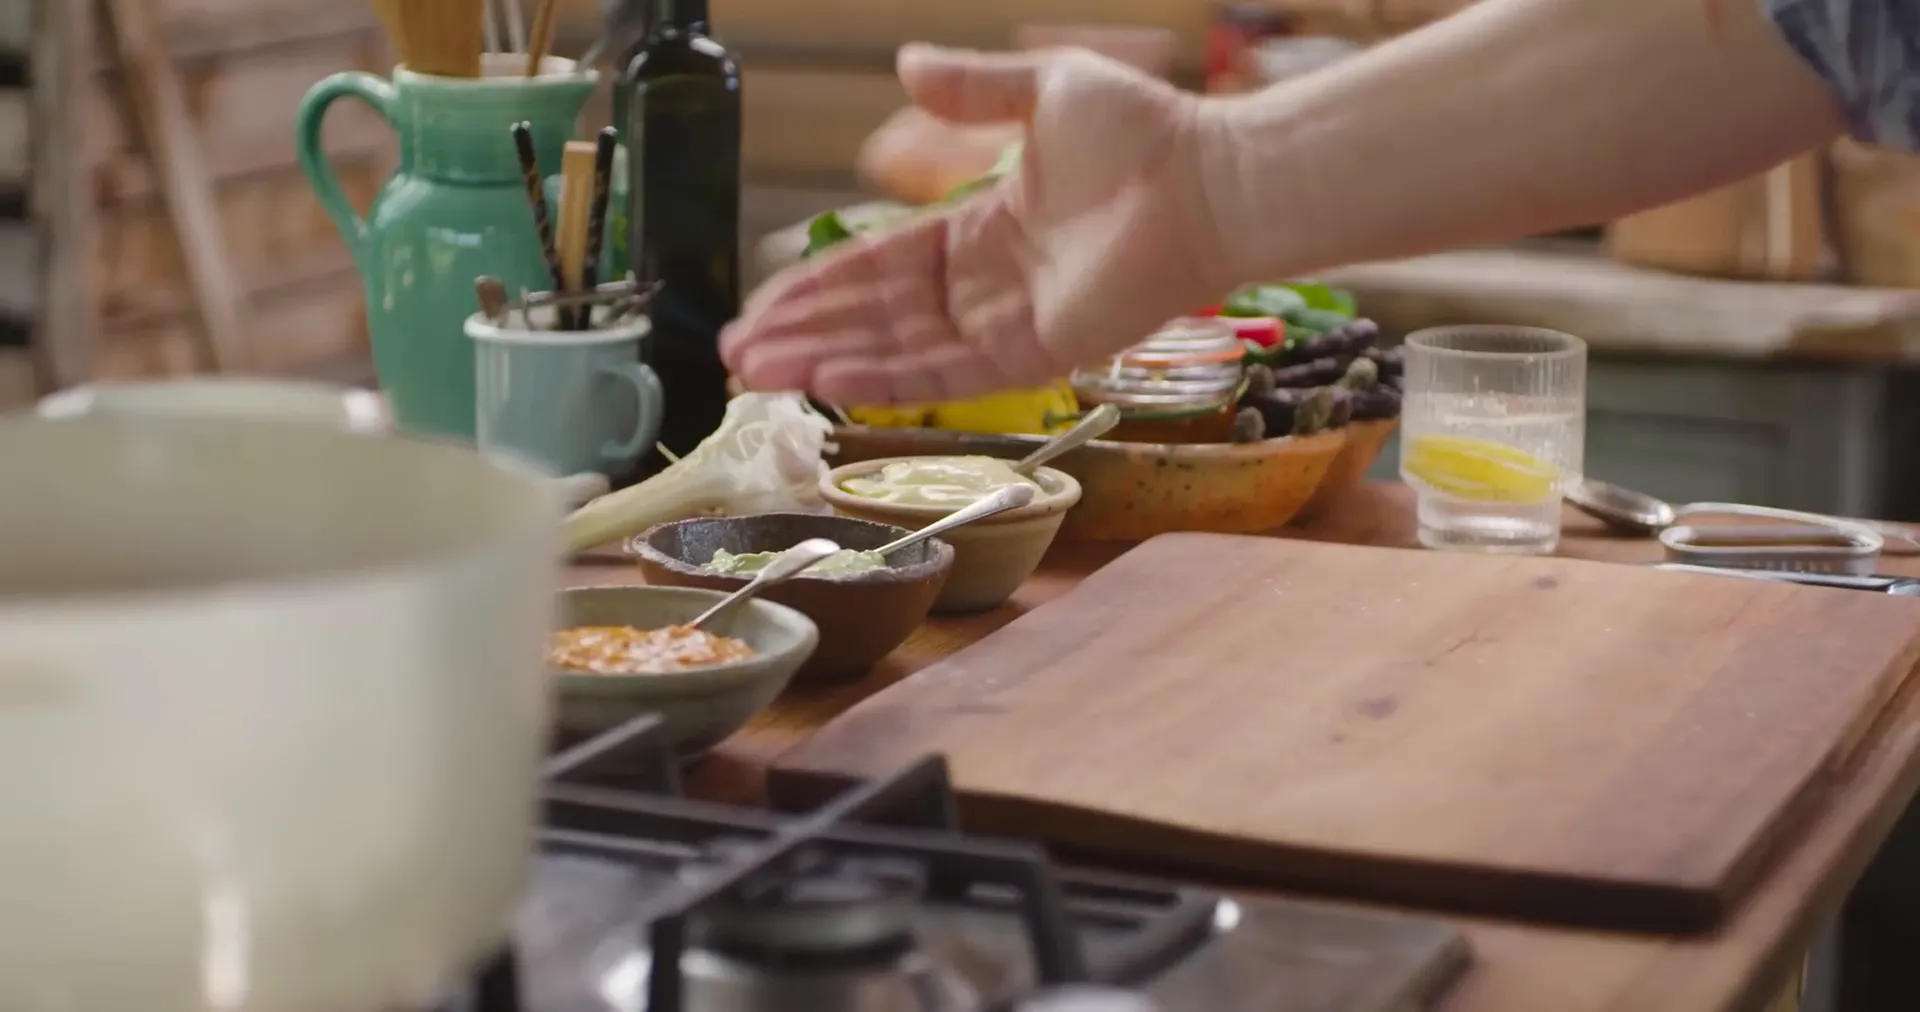
Three Delicious Mayonnaise Hacks
No Fritto Misto is complete without a creamy dip, and store-bought mayonnaise is a great base for quick flavor upgrades. Here are three easy ways to transform plain mayo into something spectacular:
- Garlic Mayo: Smash one garlic clove with a pinch of salt into a paste. Mix it into the mayo along with a squeeze of lemon juice for a punchy, vibrant dip reminiscent of French aioli.
- Herb Mayo: Use fresh herbs like basil, mint, parsley, or tarragon. Crush the herbs and mix them with mayo for a fresh, aromatic sauce that pairs beautifully with fish or seafood sandwiches.
- Spicy Harissa Mayo: Stir in a little chili paste or harissa for a smoky, glowing heat and a gorgeous deep color—perfect for those who love a bit of spice.
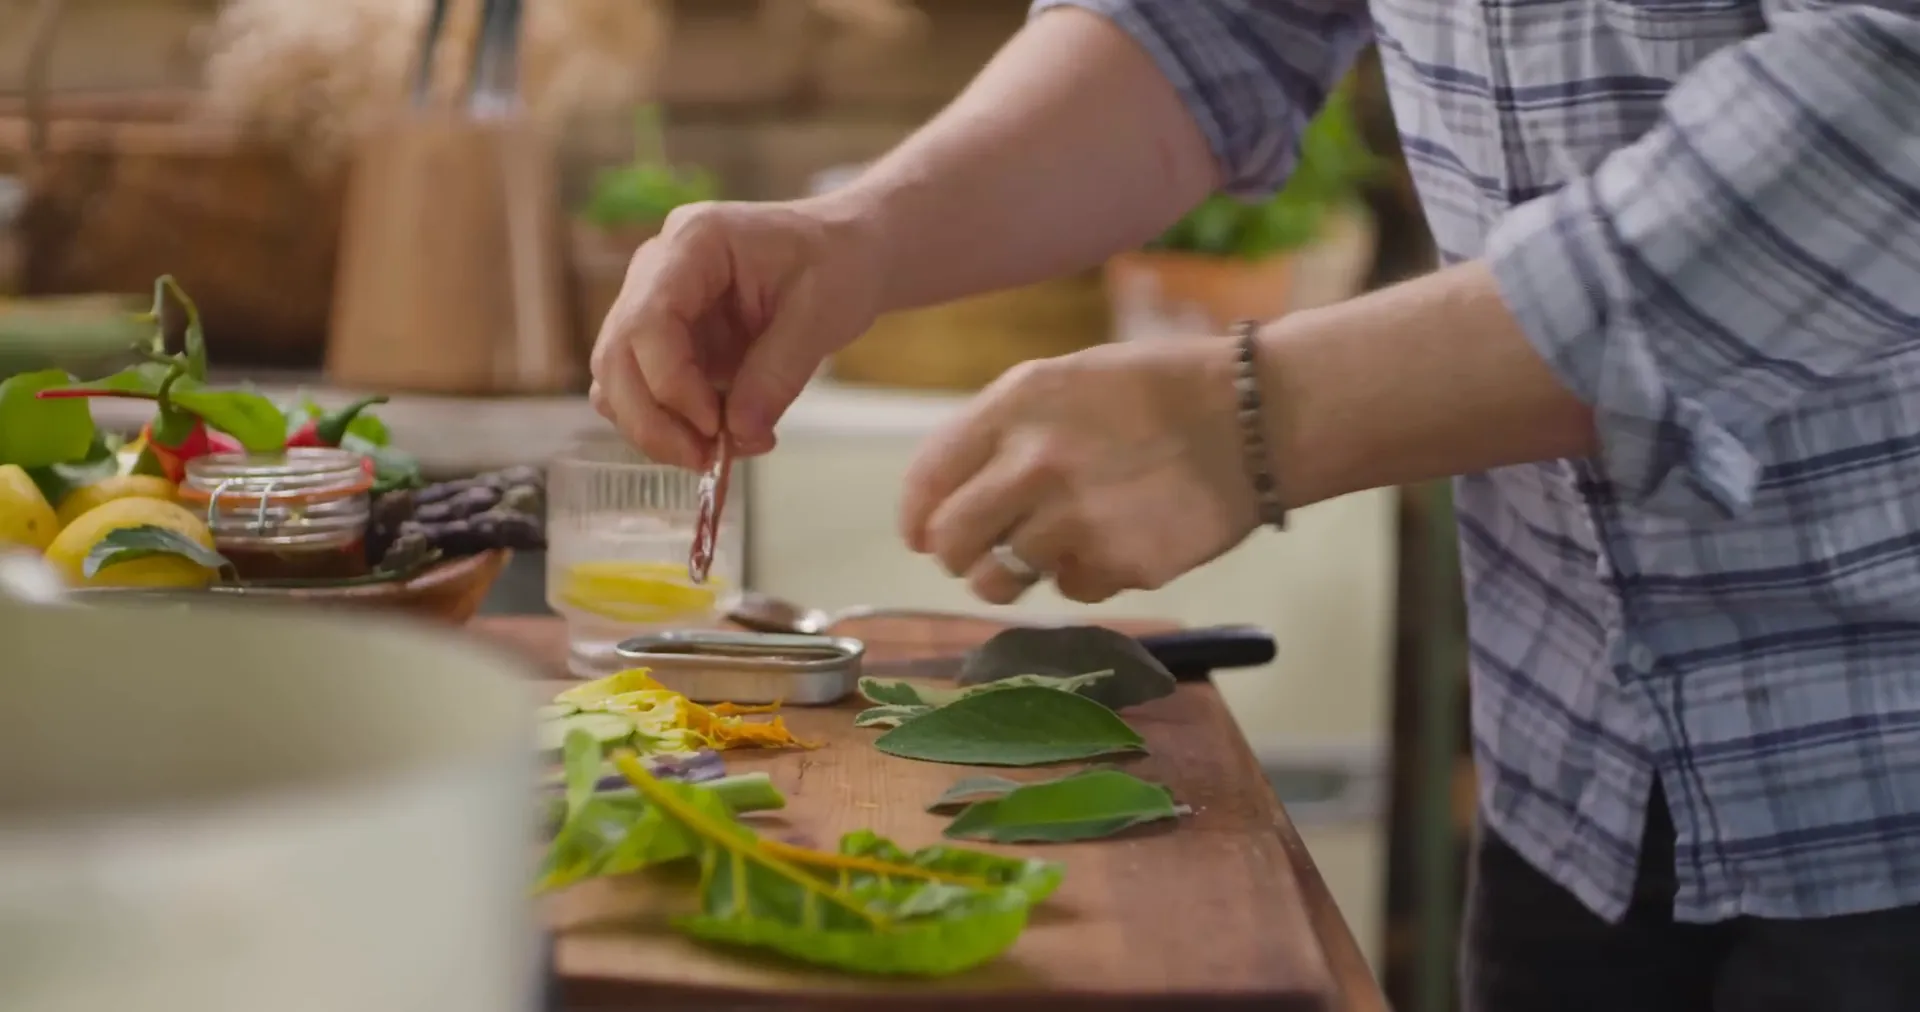
Choosing Ingredients for Your Fritto Misto
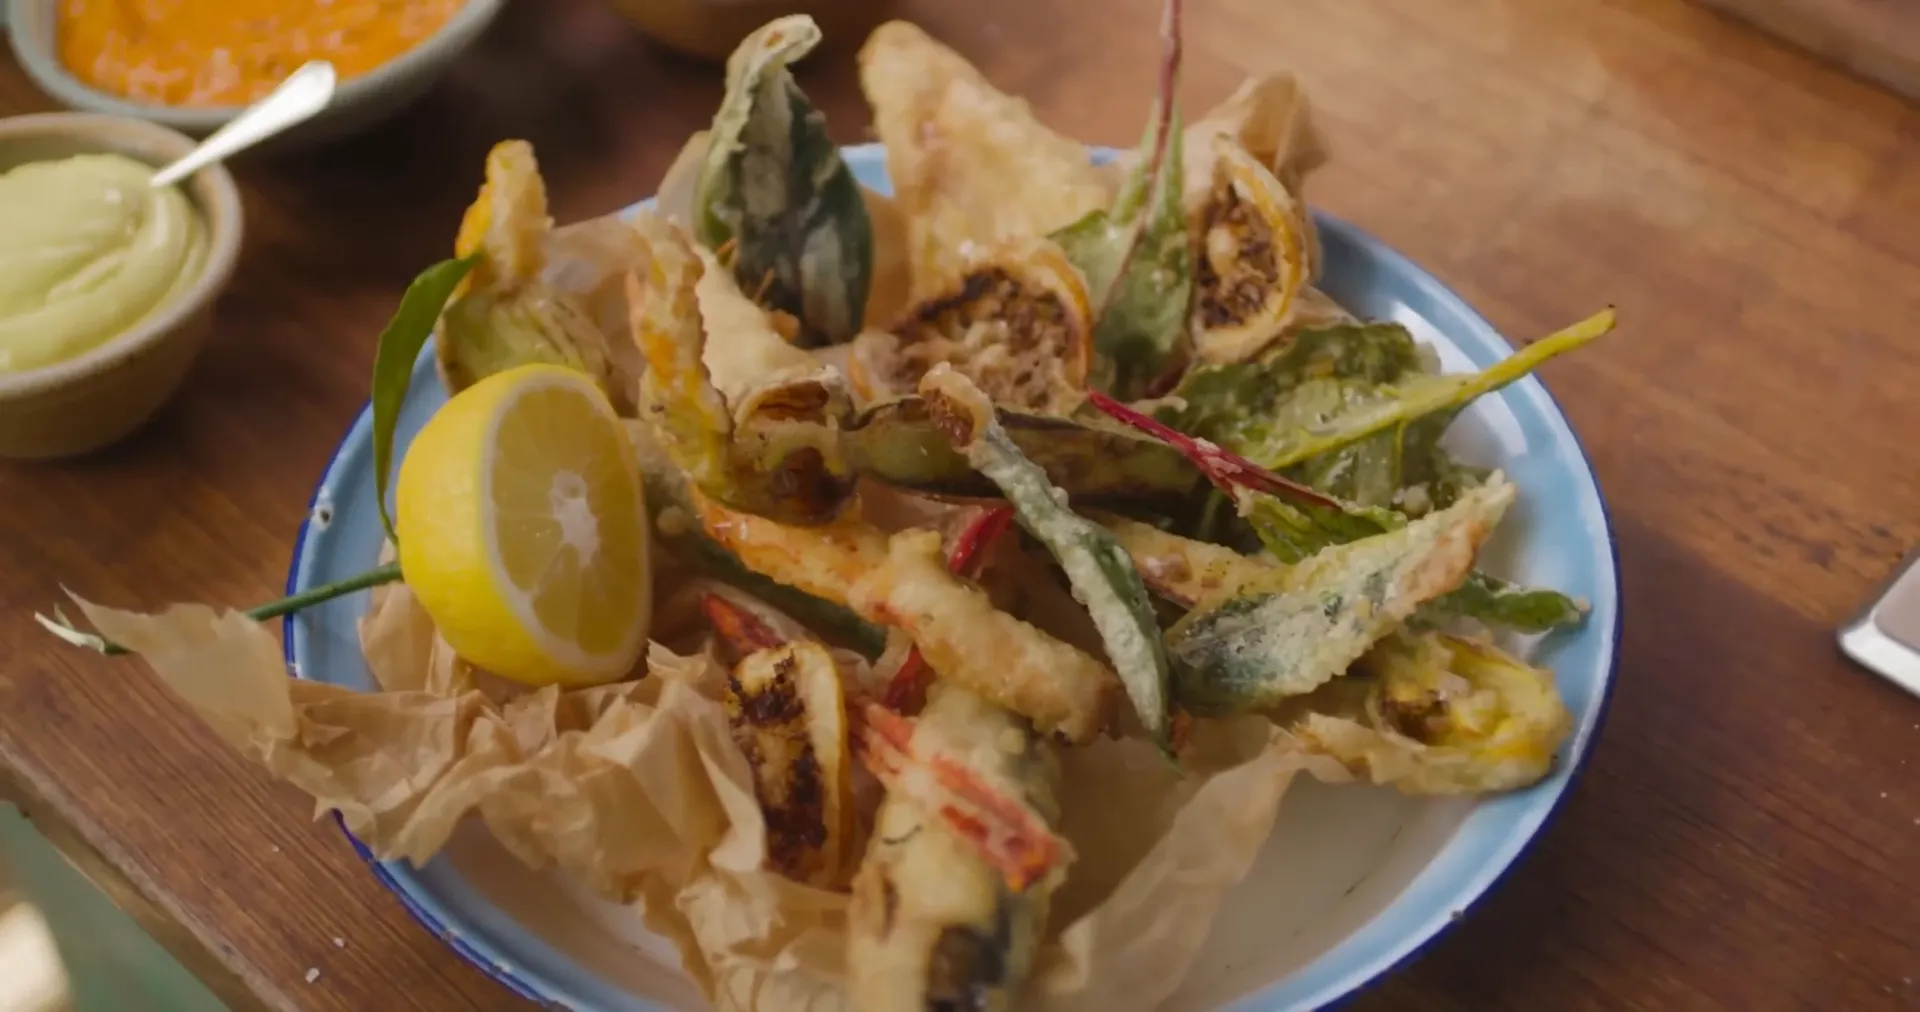
Fritto Misto means “mixed fried,” and this recipe embraces a variety of seasonal veggies and fish. Think slices of lemon, tender chard leaves, asparagus tips, zucchini flowers (which can be stuffed with ricotta, lemon, and parmesan if you like), and courgette slices cut at an angle for visual appeal.
Herbs add a fun twist too—parsley, mint, and especially sage. For a special treat, try making a traditional Italian sage sandwich: layer anchovy fillets between two sage leaves, press together, coat in batter, and fry. The salty umami of the anchovy melds with the fragrant, crisp sage for a bite of pure joy.
Preparing the Fish and Prawns
Use fresh whole fish like sardines or anchovies, cleaned and scaled by your fishmonger. For fillets, red mullet, sea bass, or herring work beautifully—just keep them around a centimeter thick for quick frying.
For prawns, peel the shell off but leave the tail on for a handy handle. Butterfly the prawn by running a knife along the back and removing the vein. Keep the heads on if you like; when deep-fried, they turn crisp and delicious, perfect for nibbling.
Frying Logic and Timing
Timing is key to getting everything cooked perfectly together:
- Whole fish: about 3.5 minutes
- Fillets (like red mullet): about 3 minutes
- Prawns: about 2 minutes
- Whole zucchini flowers and halves: slightly less time
- Herbs and lemon slices: just about 1 minute
Lightly dust fish and prawns with flour before dipping in batter. This helps the batter cling evenly without becoming heavy. Drop each item carefully into the hot oil, spacing them out to avoid crowding, which can lower the oil temperature and make the coating soggy.
Finishing Touches and Serving
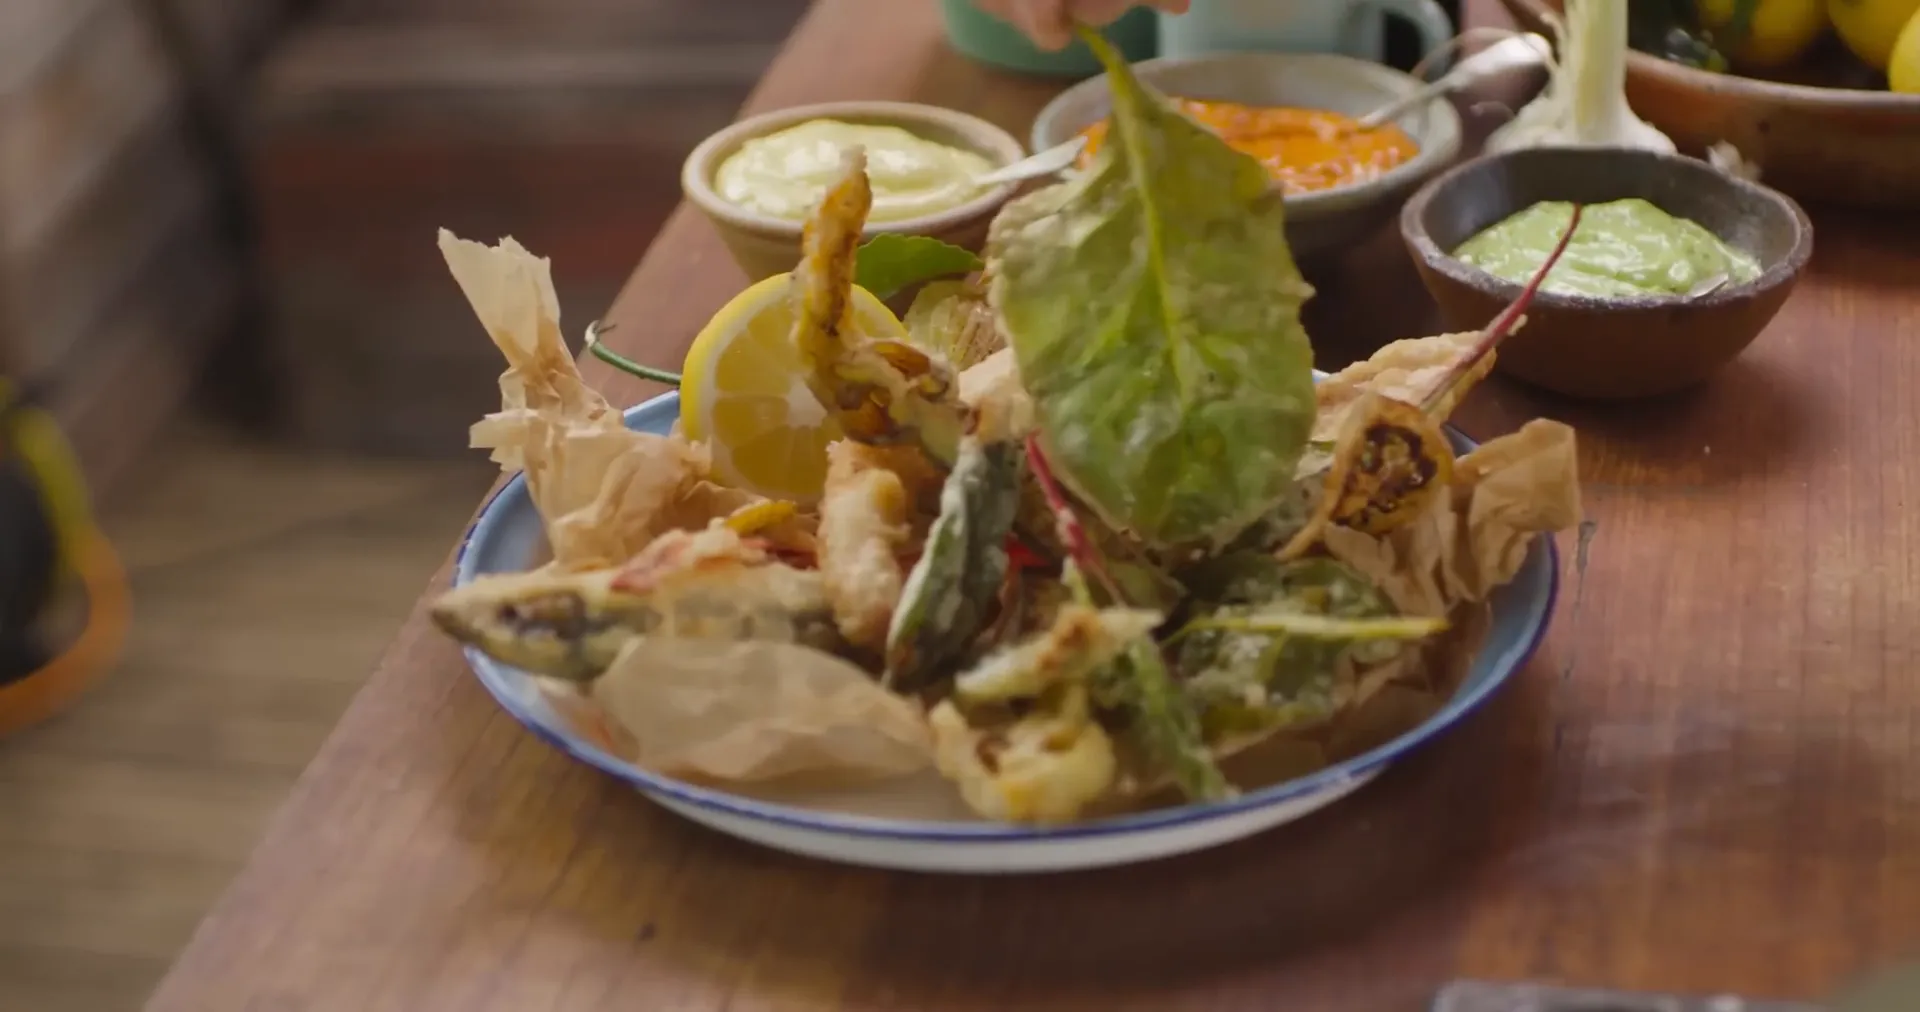
Once golden and crisp, drain your Fritto Misto on kitchen paper to remove excess oil. Sprinkle with flaky sea salt (Maldon is a great choice) while still hot to enhance flavor and texture.
Serve immediately with your choice of the three flavored mayonnaises and fresh lemon wedges for squeezing. The combo of crispy fish, tender veggies, fragrant herbs, and bold dips is absolutely irresistible.
A Joyful Celebration of Seasonal Flavors
Fritto Misto is a fantastic way to enjoy the best of what’s in season, whether humble or extravagant. This dish embodies the simple pleasure of great cooking—fresh ingredients, thoughtful preparation, and vibrant flavors that bring people together.
So next time you’re looking for cooking easy recipes that wow, give this Fritto Misto a try. It’s crispy, colorful, and absolutely delicious—the perfect way to celebrate good food and good company.
This article was created from the video Fritto Misto Fish & Veggies | 4K RESOLUTION | Jamie Oliver with the help of AI.
3 Ways to Use Less Meat While Getting Big Flavor: Cooking Tips and Recipes from America's Test Kitchen
Looking to enjoy delicious meals with less meat but without sacrificing flavor? America's Test Kitchen shares expert techniques and recipes that prove you can coax tons of umami and savory richness from just a small amount of meat. This article explores three inspired dishes that showcase how a little meat can go a long way in elevating your cooking. Whether you’re a seasoned home cook or just starting, these flavorful recipes and tips will transform how you think about cooking, recipes, and bon appetit moments at your table.
1. Dan Dan Mian: Sichuan Noodles with a Flavorful Pork Twist
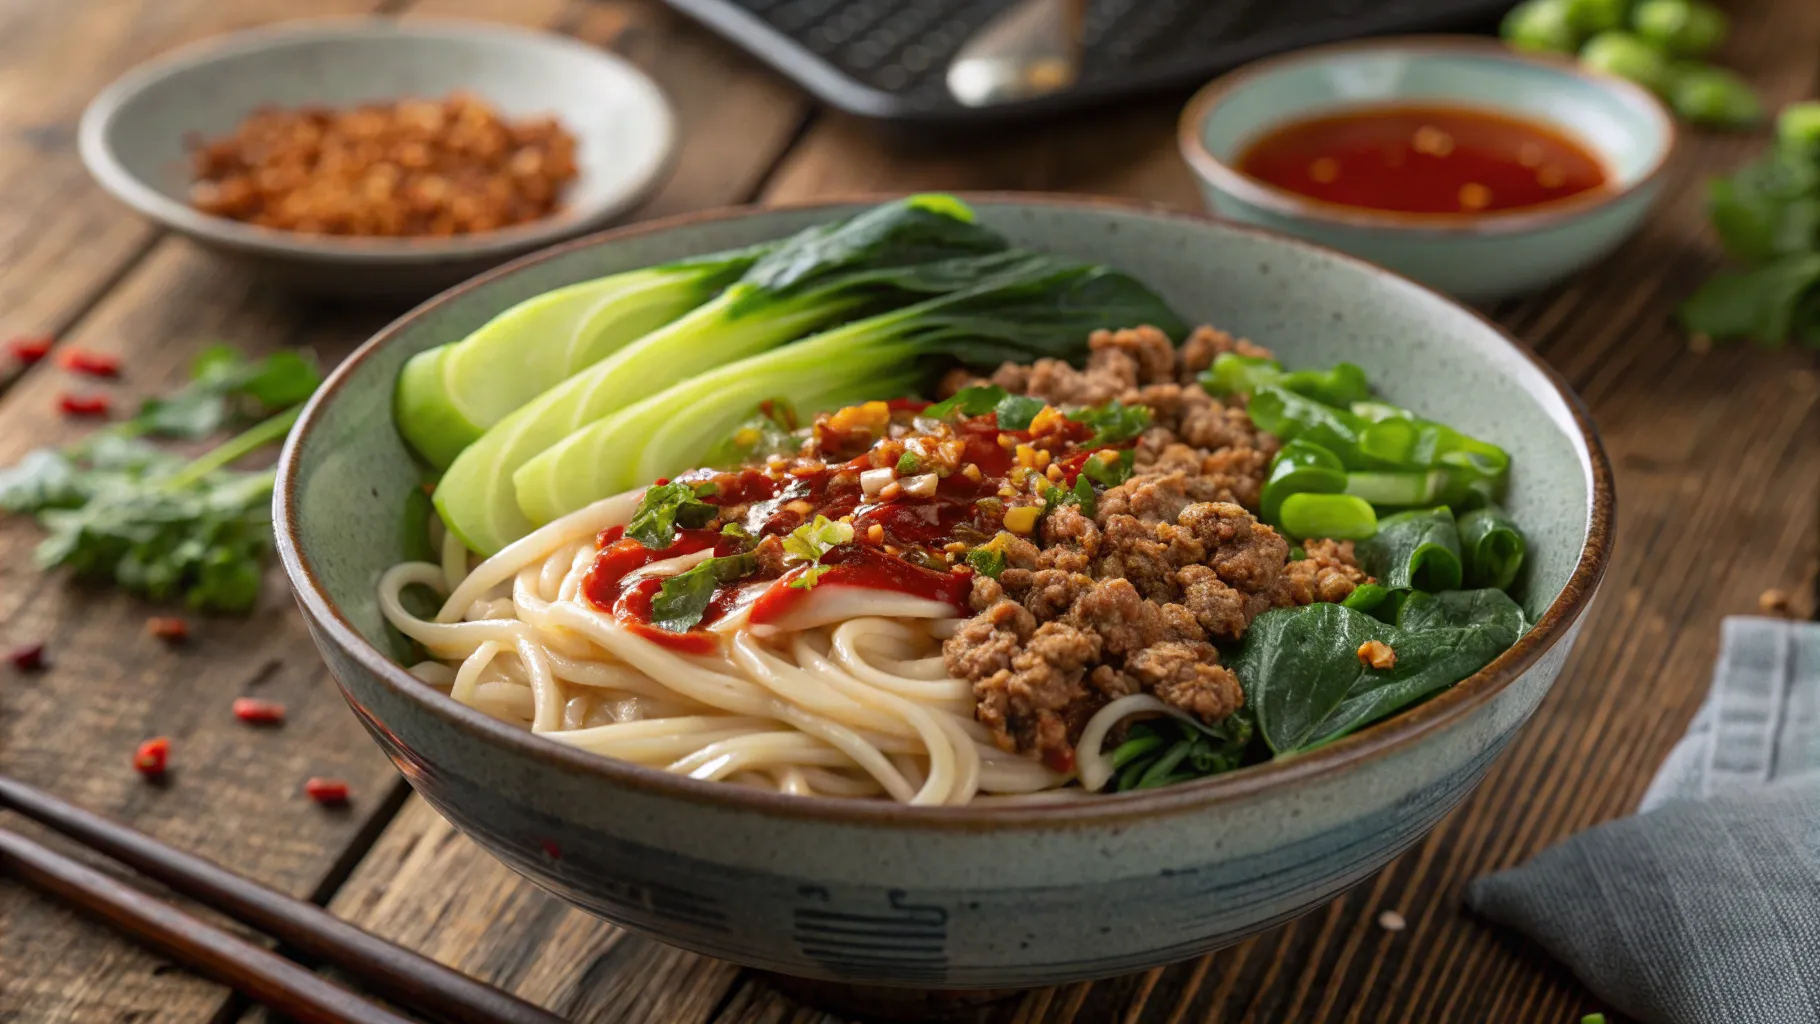
Dan Dan Mian is an iconic Sichuan noodle dish that brilliantly balances chewy wheat noodles, a vibrant chili sauce, juicy bok choy, and crispy, browned bits of pork. The magic lies in using just a few ounces of ground pork—not as the star but as a flavor enhancer and texture contrast. Instead of aiming for tender, juicy pork, the key is to maximize browning for concentrated roasty, umami-packed flavor.
Start by seasoning ground pork with soy sauce and Shaoxing wine, then smear it thinly across the bottom of a hot wok or skillet. This technique maximizes surface area, speeding cooking and helping to extract flavorful fat and juices. Breaking the pork into small, crispy pieces ensures they cling to the noodles, creating delightful pops of flavor with every bite.

After the pork is browned, add aromatics like ginger and garlic for an extra layer of fragrance. The chili sauce base is a quick-infused oil with Sichuan chili powder, peppercorns, and cinnamon, combined with soy sauce, Chinese black vinegar, sweet wheat paste (or hoisin), and Chinese sesame paste (or tahini). Adding yat sai, a spicy and fermenty Sichuan pickle made from Chinese mustard plant, to the pork gives the dish a funky, spicy depth that complements the meatiness perfectly.
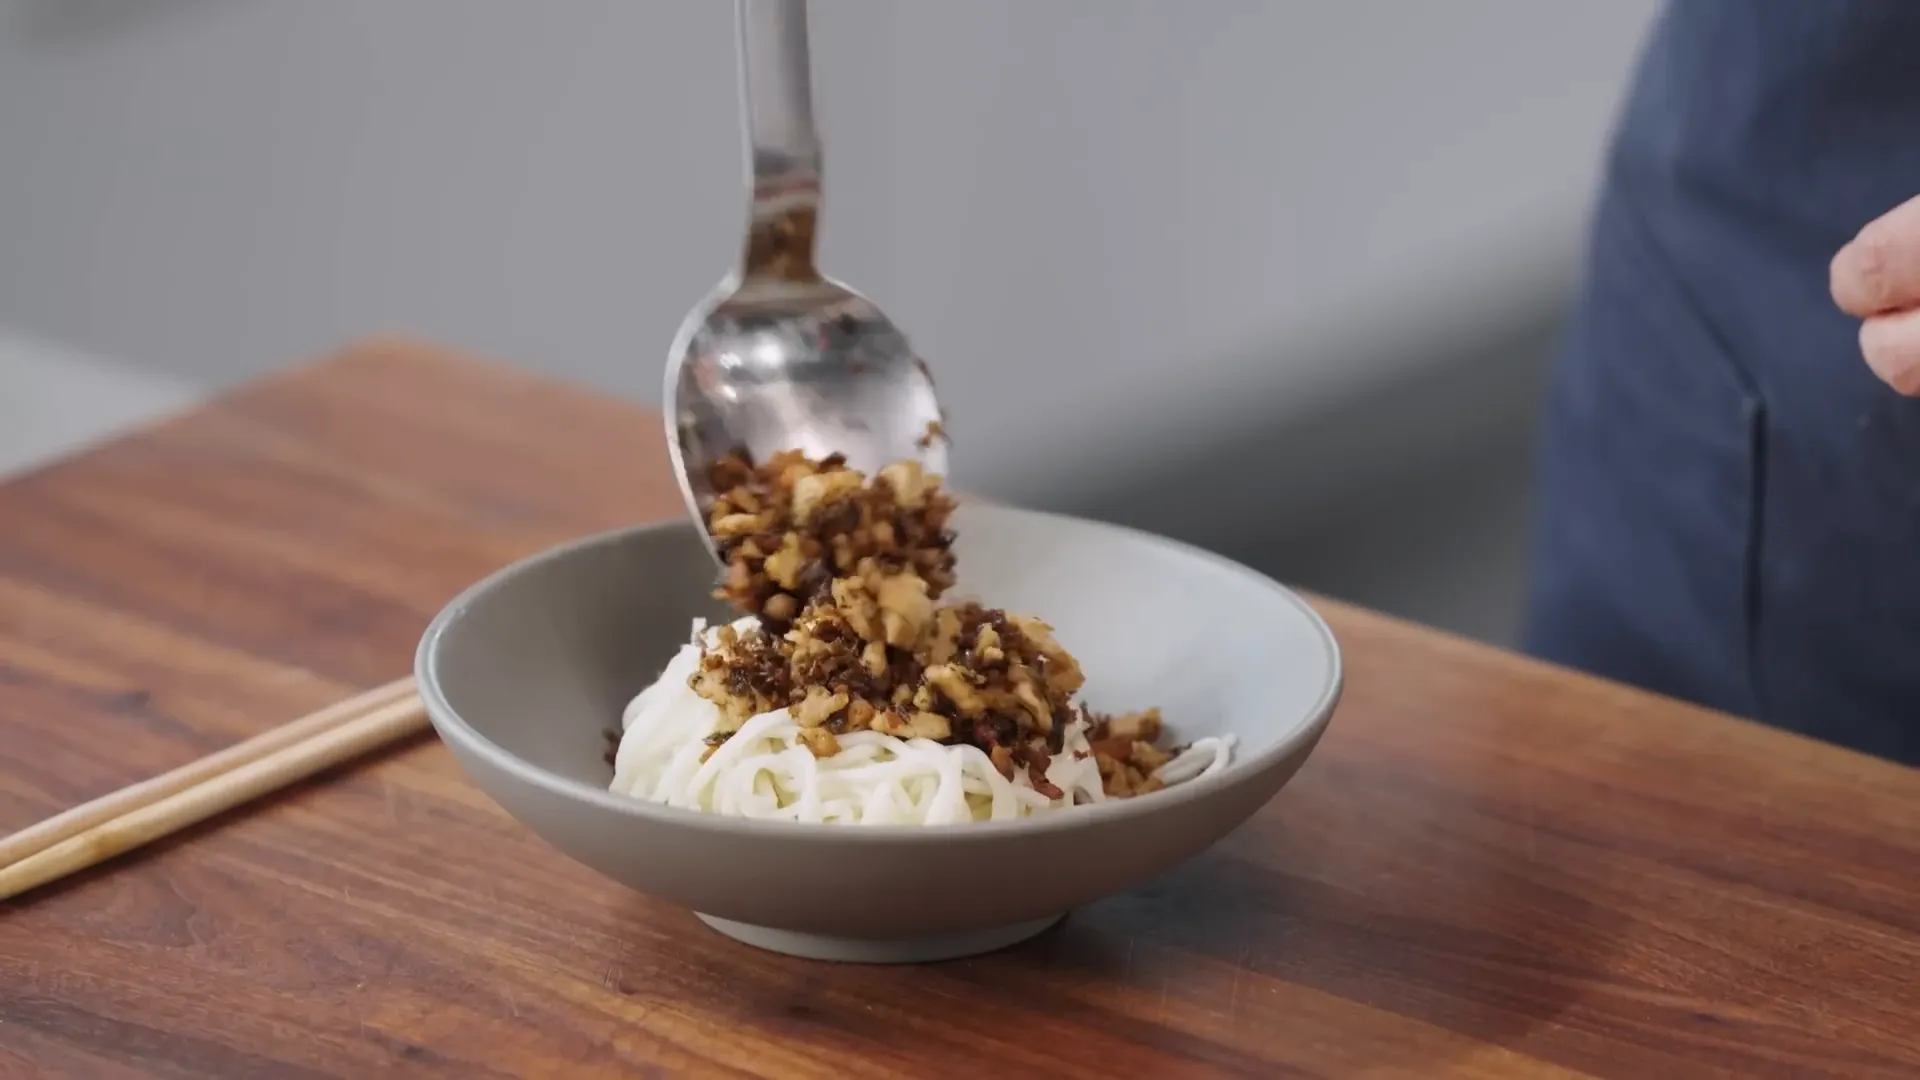
The secret to enjoying this dish is in the plating: chili sauce at the bottom, noodles on top, then pork and bok choy, finished with scallions. Tossing the noodles releases the spicy aromas, while the small pork pieces cling beautifully, delivering a punchy, savory bite. The bok choy acts as a palate cleanser, balancing the intense flavors.
Just a little browned meat can flavor an entire dish, a principle that extends to soups like corn chowder or minestrone, where small amounts of bacon or pancetta infuse the whole pot with umami richness.
2. Braised Collard Greens: Extracting Deep Flavor from Ham Hocks
Another brilliant way to enjoy less meat is through slow cooking and extraction of flavor, demonstrated beautifully in Erica Turner’s braised collard greens—a Southern classic. This dish uses a small amount of ham hocks to create a smoky, velvety broth that infuses the greens with rich pork flavor.
Begin by sautéing smashed garlic in a bit of oil, then add water and ham hocks—joints cured and smoked, packed with collagen from skin, bone, and connective tissue. Collagen breaks down into gelatin over long cooking, giving the broth a luscious body that lingers on the tongue, allowing flavors to fully develop and be savored.
After boiling for 45 minutes, the broth becomes cloudy, signaling it’s time to add the collards. These hearty greens require stem removal and slicing into bite-sized pieces. Then, add chicken broth, pepper, and a pinch of cayenne, cover, and simmer for another 90 minutes. This long cook softens the tough greens, mellows bitterness, and concentrates the porky flavors into the silky leaves.
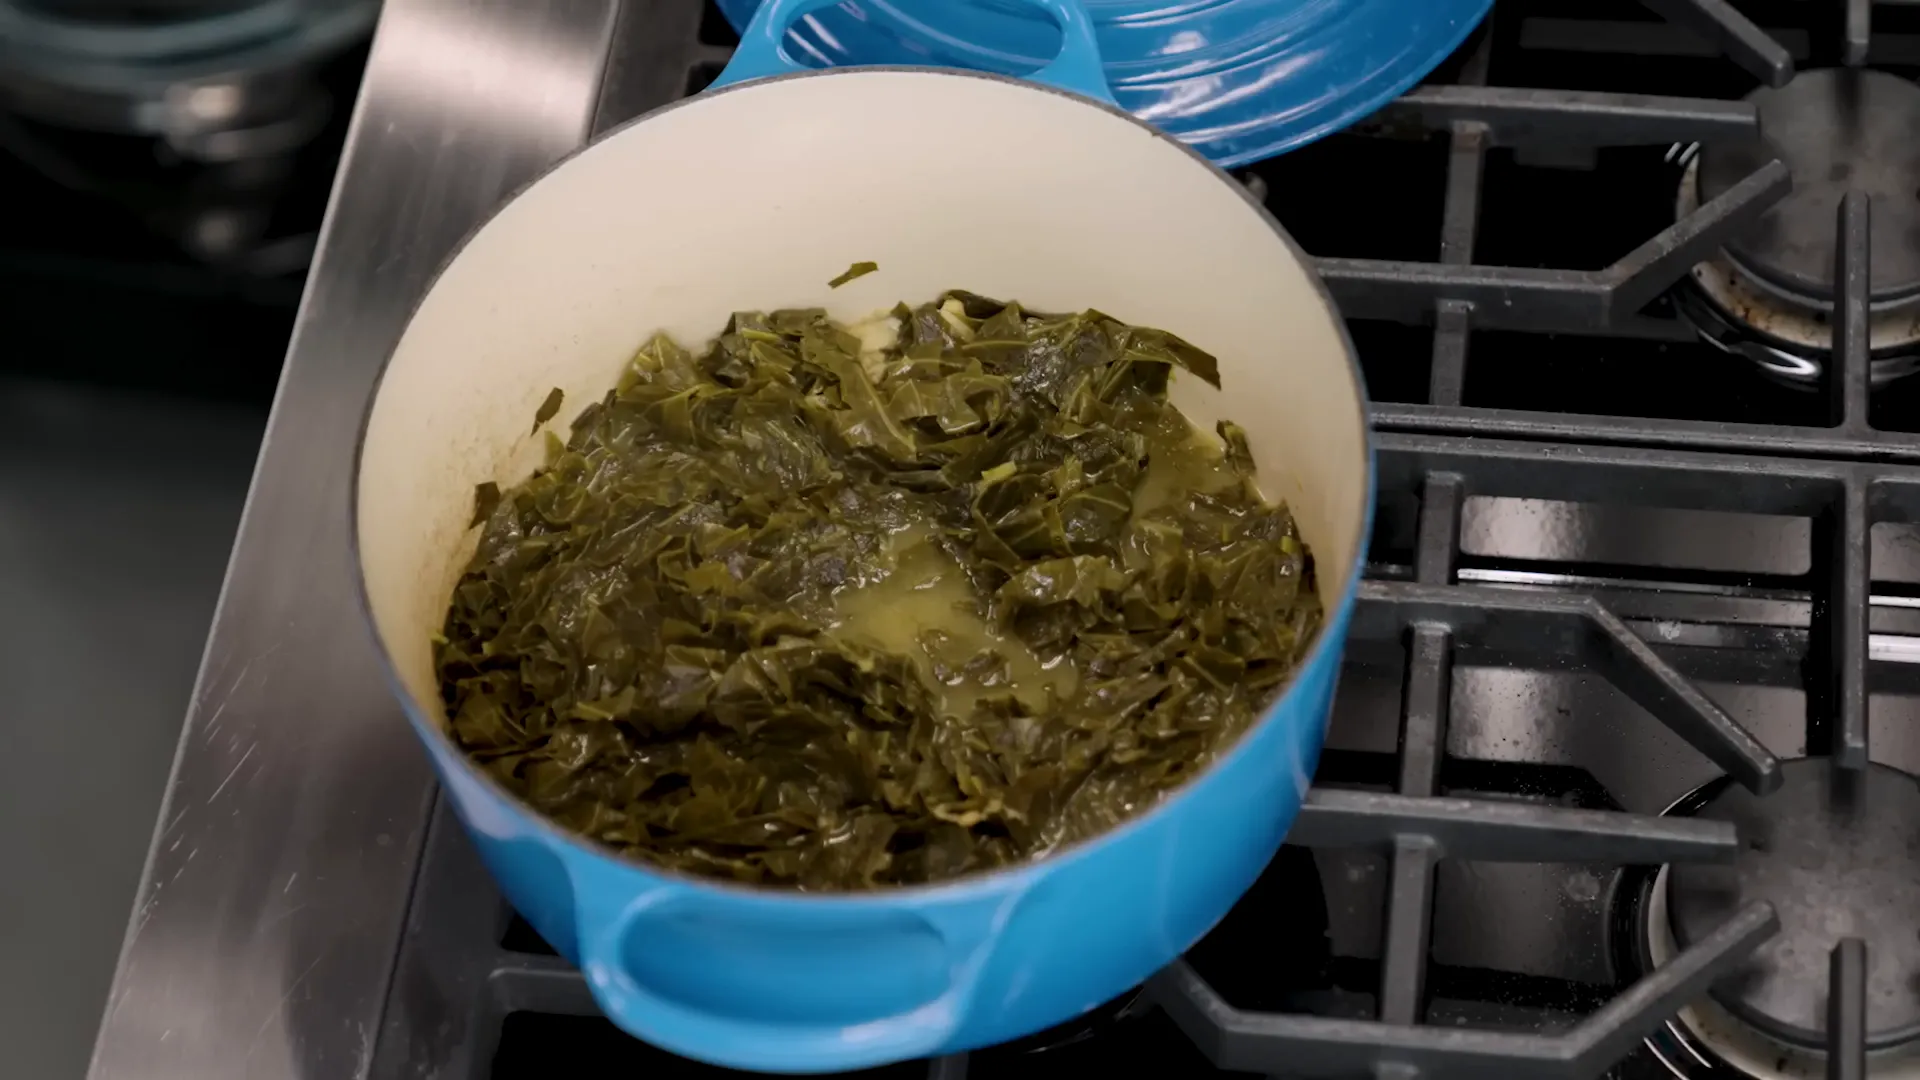
Before serving, pick the meat off the cooled hocks and stir it back into the pot. A few dashes of hot sauce add acidity and heat, rounding out the dish beautifully. The result is tender, smoky greens that taste like pork but are mostly vegetables—perfect for a satisfying, meat-conscious dinner.
3. Quick Angel Hair Pasta with Anchovy Basil Sauce: Umami Bomb in Minutes
For a fast, flavorful meal, Steve Dunn’s angel hair pasta with a basil, caper, and lemon sauce is a shining example of how to use a tiny amount of meat-derived umami to its fullest. Angel hair pasta’s delicate strands require a super concentrated sauce, and anchovies are the perfect umami bomb to deliver that intensity.
Anchovies might be polarizing, but their aroma mellows quickly, leaving behind savory saltiness and powerful umami. The sauce blends oil-packed anchovies with fresh parsley, basil, capers, garlic, lemon zest and juice, mustard, salt, pepper, and olive oil. Everything goes into a blender for a quick pesto-style sauce.

Why do anchovies pack such a punch? They’re naturally high in inosinate, and curing adds glutamates. When combined, these molecules boost umami eightfold, triggering our taste receptors and making dishes taste richer and more satisfying.
Before draining the pasta, reserve some pasta water to loosen the sauce. Adding this starchy water helps create a creamy, clingy sauce that coats each delicate strand perfectly without drowning it.
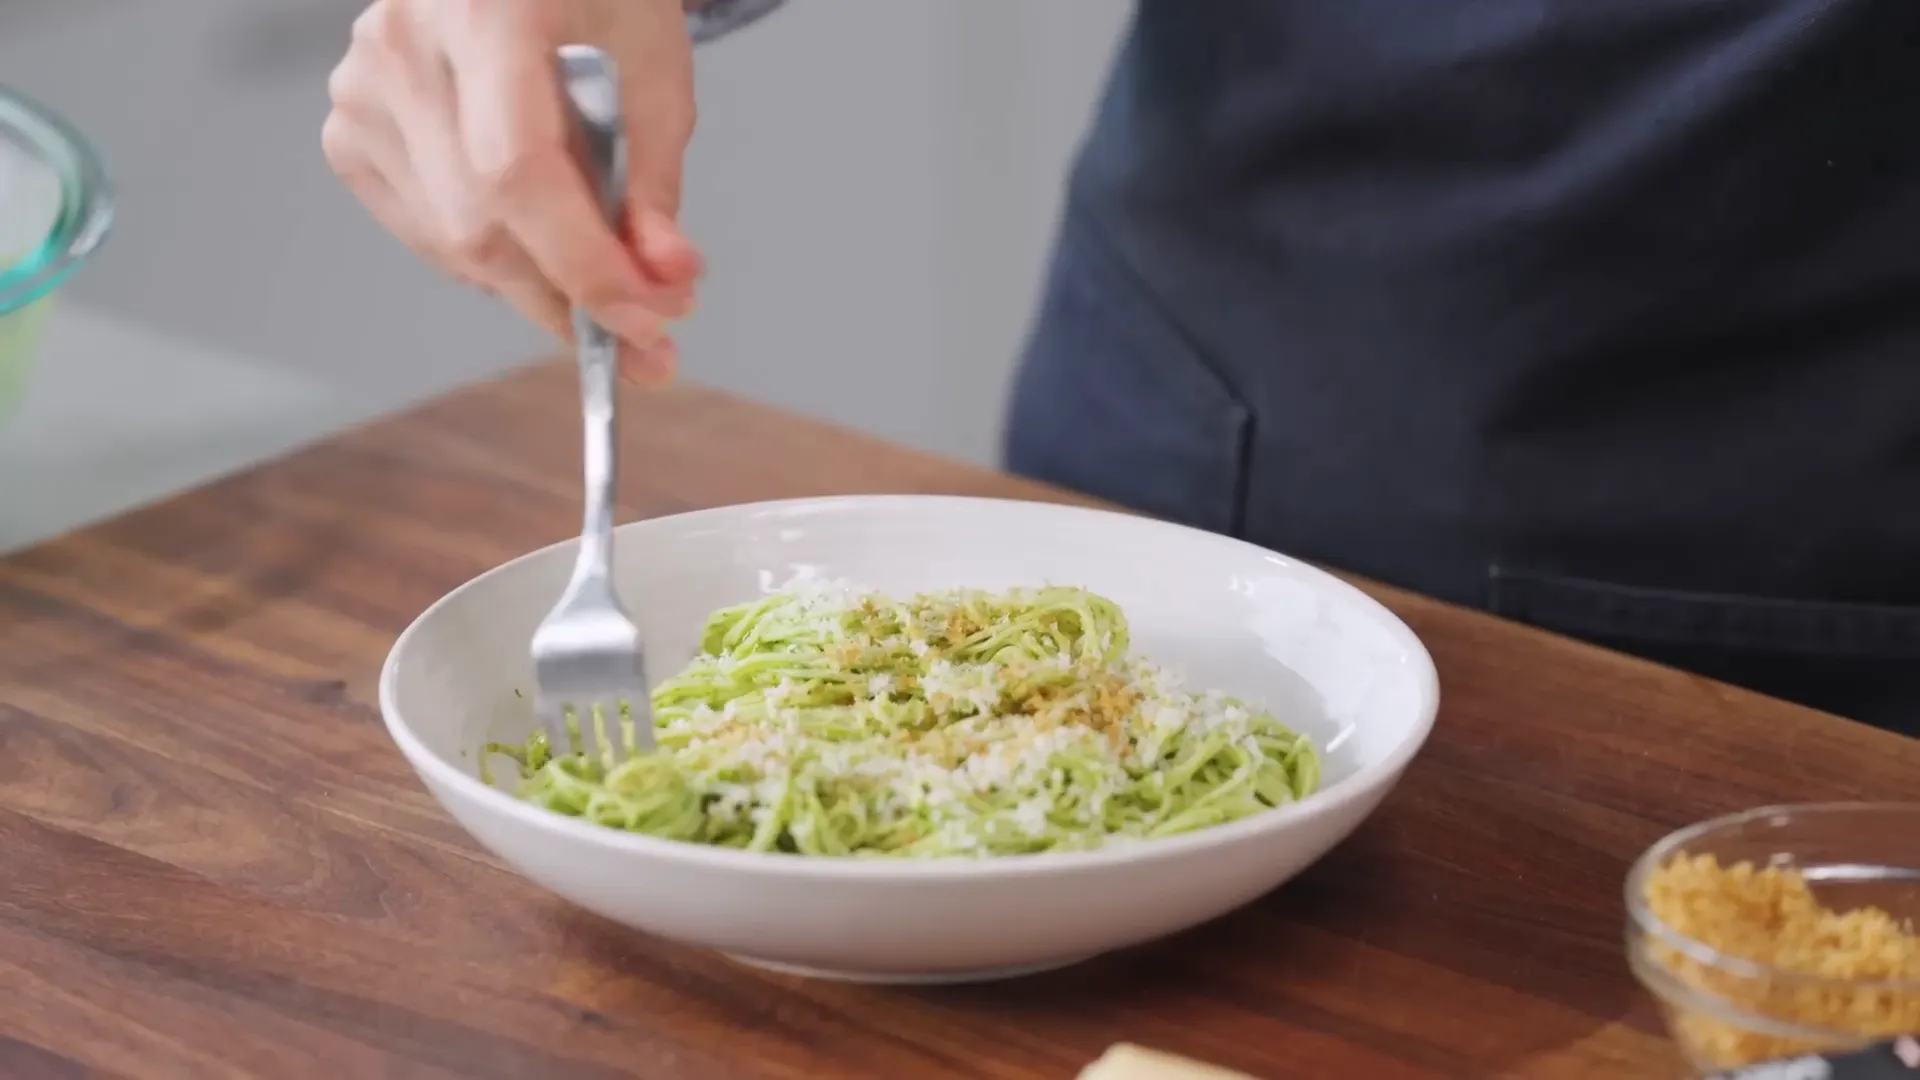
The final dish is light yet punchy, with no fishiness—just pure savory goodness that elevates the pasta to a new level. Over the years, the test kitchen has found anchovies to be a go-to flavor booster in over 270 recipes, proving their versatility and power.
Embrace Flavorful Cooking with Less Meat
These three recipes highlight how cooking with less meat doesn’t mean compromising on flavor. By focusing on techniques like Maillard browning, slow flavor extraction, and leveraging umami-rich ingredients like anchovies, you can create meals that are satisfying, delicious, and mindful of meat consumption.
Whether it’s the crispy pork in Dan Dan Mian, the smoky depth of braised collards, or the umami-packed anchovy sauce for pasta, these dishes show that a little meat goes a long way in boosting flavor and elevating everyday cooking, recipes, and bon appetit experiences.
Ready to try these recipes? Find detailed step-by-step instructions for Dan Dan Mian, Braised Collard Greens, and Angel Hair Pasta with Basil, Caper, and Lemon Sauce in the America's Test Kitchen app or through their online resources. Happy cooking!
This article was created from the video 3 Ways to Use Less Meat While Getting Big Flavor | Techniquely | America's Test Kitchen with the help of AI.
Easy Recipes: How to Make Grilled Strawberries & Pimms

If you love cooking and easy recipes that bring a fresh twist to classic flavors, this grilled strawberries and Pimms dessert is a must-try. Inspired by the iconic English Pimms drink, this recipe transforms simple strawberries into a warm, fragrant, and slightly boozy treat that’s perfect for impressing guests or adding a little luxury to your everyday dessert. With a few simple ingredients and just a handful of minutes, you can make this delightful dish that pairs perfectly with crunchy shortbread and creamy ice cream.

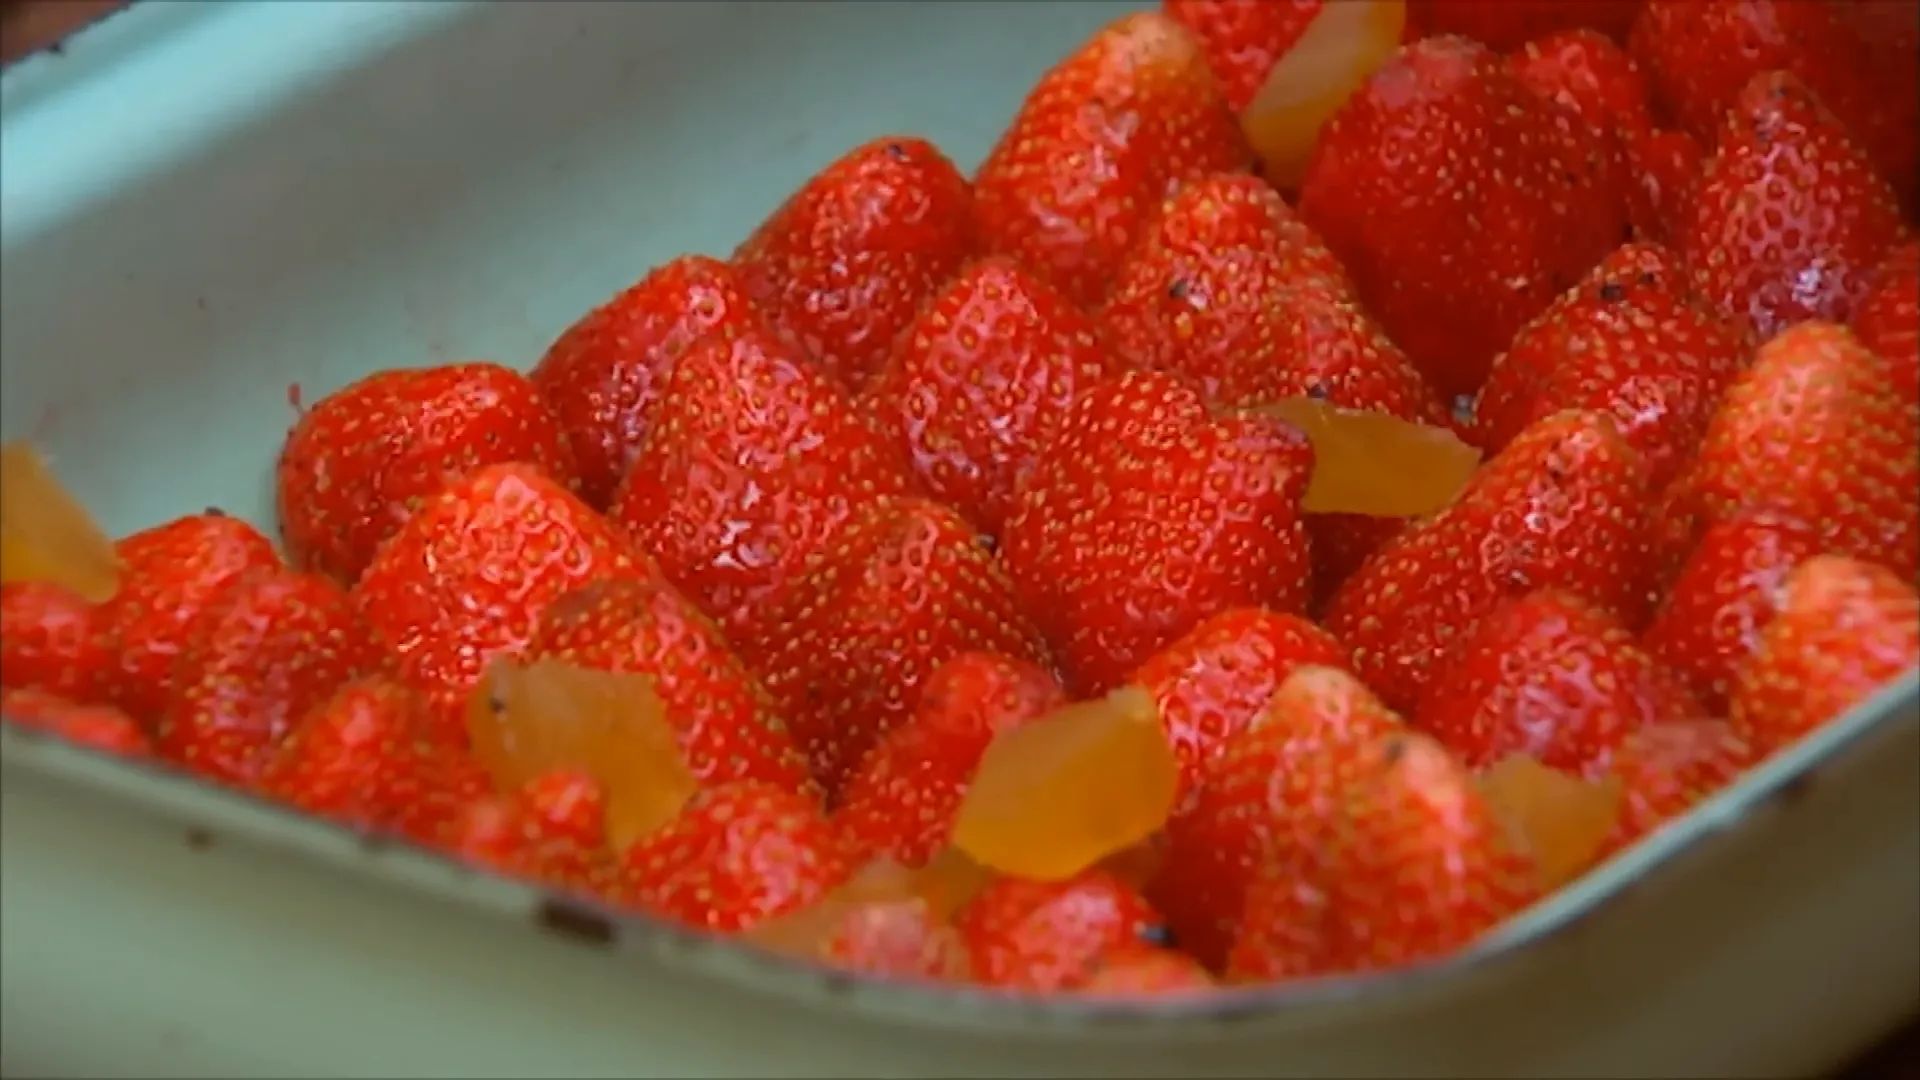
The Perfect Strawberries for Grilling
The secret to this easy recipe starts with preparing the strawberries properly. Begin by trimming the bottoms off each strawberry so they have a flat base. This helps them stand upright and pack snugly together in your tray. Packing them tightly is important because strawberries are delicate and will shrink slightly as they cook.
When the strawberries are arranged with their flat cut side down, all the juices and flavor will collect at the bottom of the tray. This natural syrup becomes the base for a delicious sauce that elevates the dish.

Vanilla and Stem Ginger: A Flavorful Twist
Vanilla and strawberries are a classic pairing, and here, the addition of real vanilla beans takes the flavor to the next level. You can use vanilla sugar if you prefer, but scraping the seeds from a vanilla bean gives an intense fragrance and a little texture, almost like tiny caviar pearls.
Another brilliant ingredient for this recipe is stem ginger, which you can find in most supermarkets or Asian grocery stores. Use a couple of pieces of candied ginger along with a few tablespoons of the syrup it’s stored in. This syrup adds a wonderful spicy sweetness that complements the strawberries beautifully.
Mix the vanilla seeds into the ginger syrup and drizzle it all over the packed strawberries, letting the flavors mingle. Randomly scatter chopped candied ginger bits in the gaps between the strawberries — don’t worry about being too neat; the rustic look adds charm to the dish.
Grilling the Strawberries
Once your strawberries are dressed with the vanilla-ginger syrup and ginger pieces, place the tray under a grill or broiler. The goal isn’t to cook the strawberries fully but to warm them gently until the syrup starts bubbling and thickening, which takes about three minutes.
This quick grilling step intensifies the flavors and softens the berries just enough to create a meltingly delicious texture.

Adding Crunch with Shortbread Biscuits
While the strawberries are grilling, prepare some shortbread biscuits to add a lovely crunch to the dessert. Take about six biscuits, wrap them in a clean tea towel, and bash them up to create coarse crumbs. This step is easy and quick, and the buttery, crumbly texture of shortbread pairs perfectly with warm strawberries and creamy ice cream.
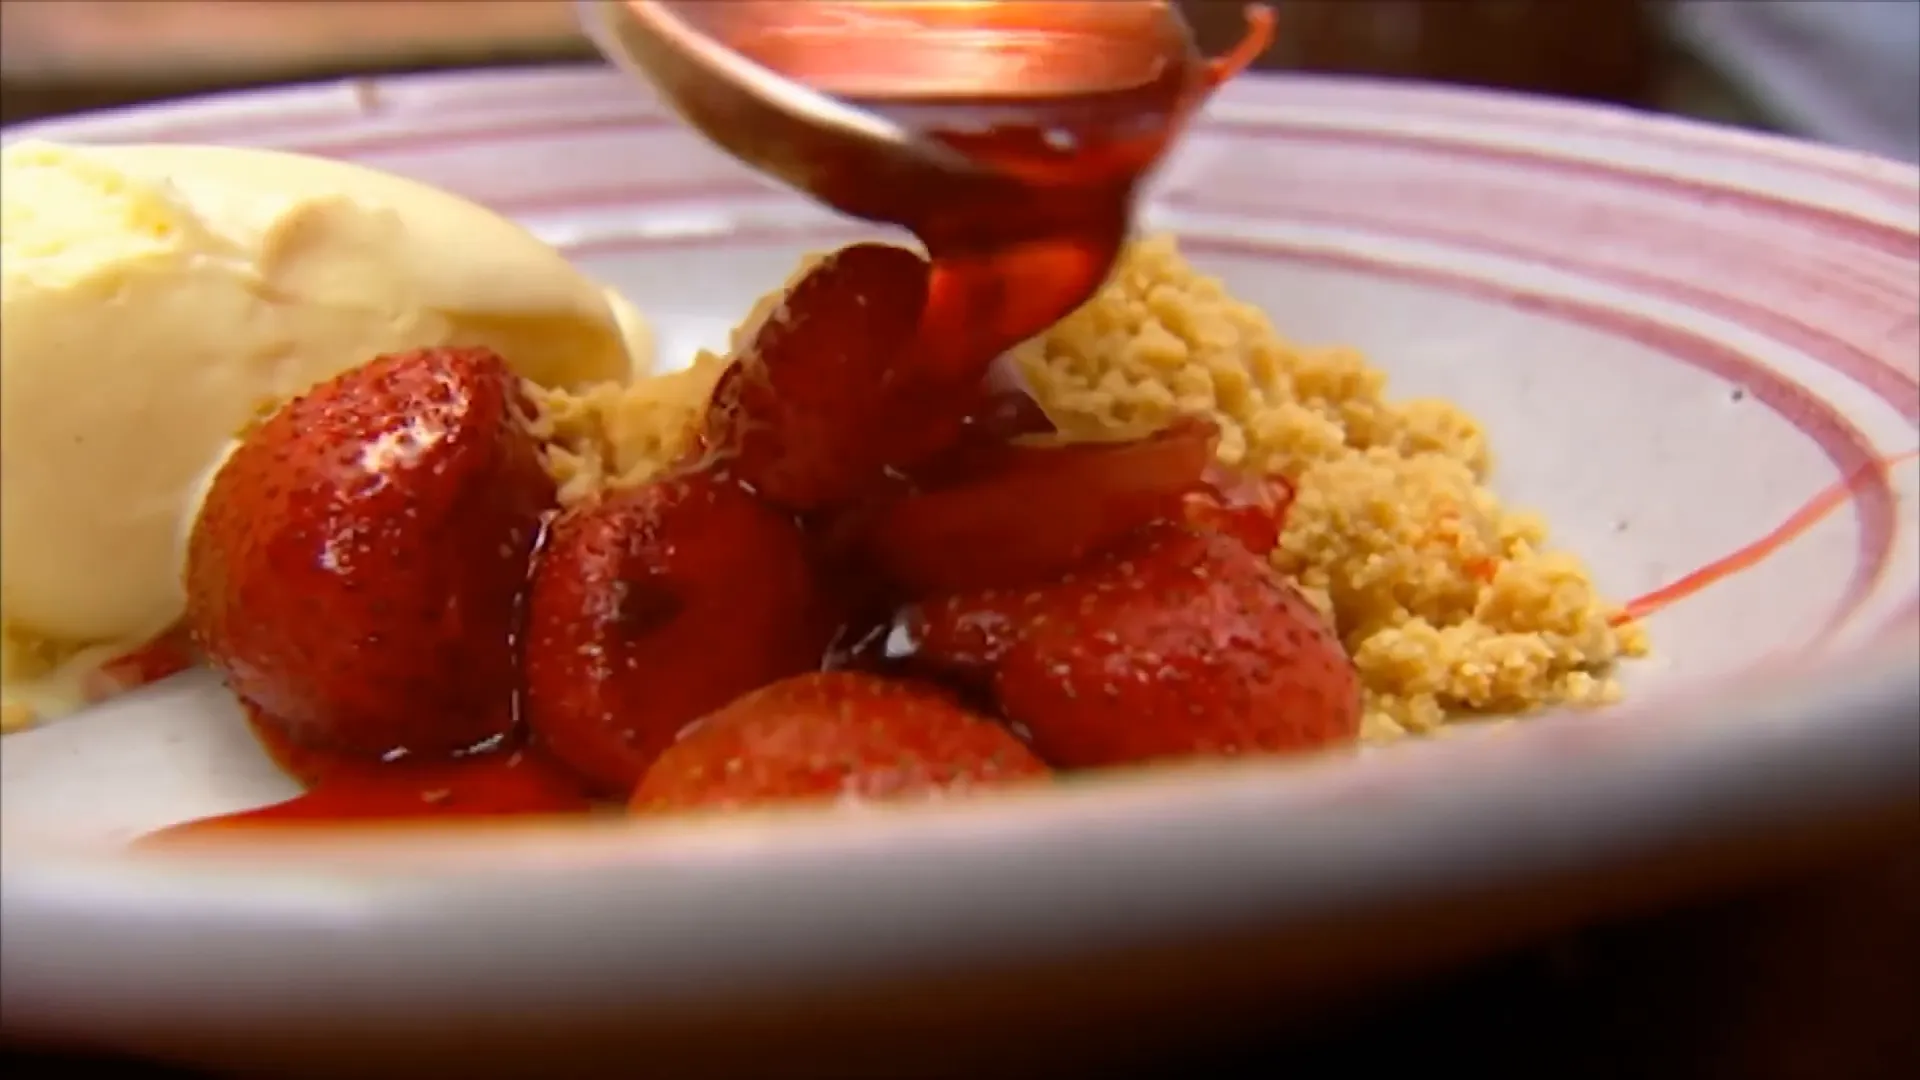
Bringing It All Together
The final touch is a scoop of good-quality ice cream. The contrast of hot, sweet strawberries with cold, smooth ice cream is simply irresistible. For an extra special finish, add a splash of Pimms liqueur — a nod to the classic English summer drink that inspired this dessert. The booze warms through the bubbling vanilla syrup, adding depth and a festive note.
Serve immediately while the strawberries are still hot and syrupy, topped with crushed shortbread and a generous scoop of ice cream. The combination of textures and temperatures — crunchy, cold, hot, and sweet — makes for a superb and memorable dessert that’s surprisingly easy to make.
Tips for Success
- Use fresh, ripe strawberries: The better the berries, the better the final dish.
- Don’t overcook the strawberries: Keep an eye under the grill, aiming for syrup bubbling but not burning.
- Experiment with the booze: While Pimms is traditional here, other fruit liqueurs work beautifully too.
- Serve immediately: This dessert is best enjoyed fresh for the contrast of textures and temperatures.
This grilled strawberries and Pimms dessert is a brilliant example of how cooking easy recipes with a few thoughtful ingredients can create something truly special. It’s quick, simple, and perfect for both casual dinners and celebratory occasions. Give it a go and enjoy a beautiful taste of English summer in your own kitchen!
This article was created from the video EASY Grilled Strawberries & Pimms | Jamie Oliver with the help of AI.
How To Cook 4 Delicious Cannelloni Pasta Recipes At Home: Easy Recipes for Every Taste
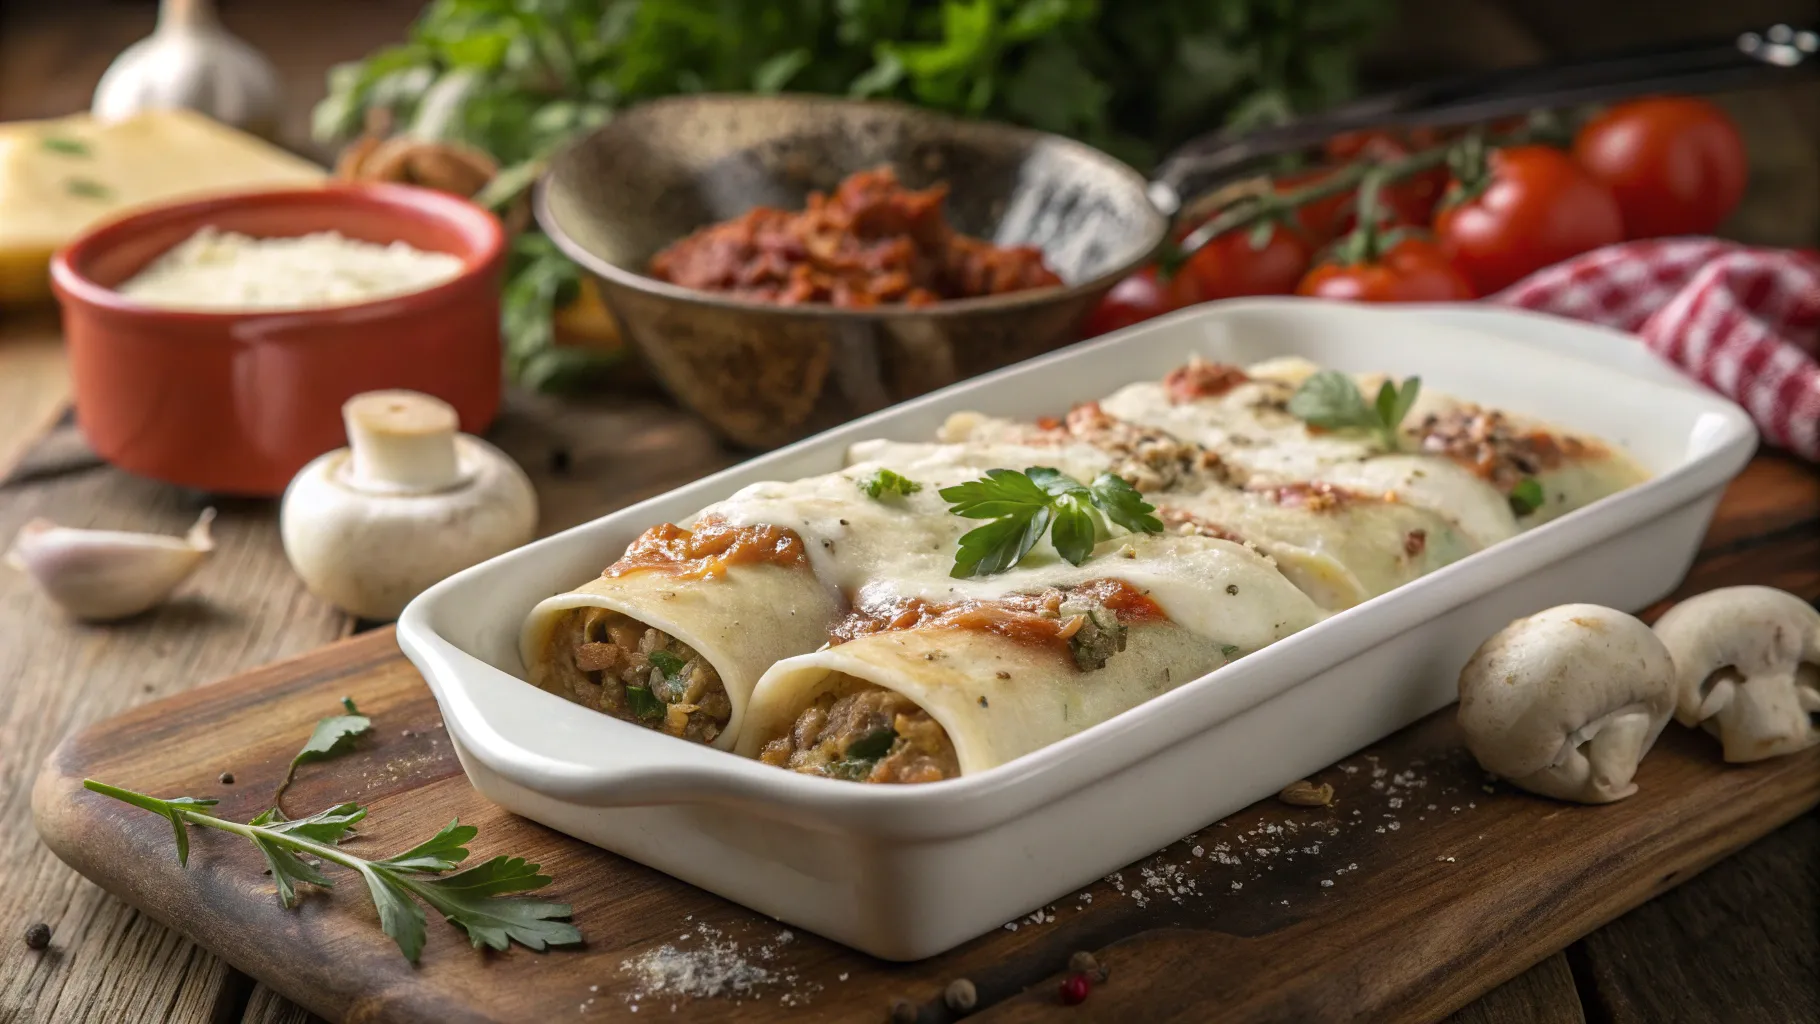
If you’re looking to impress your family or friends with hearty, comforting dishes that bring the joy of Italian cooking to your table, these four cannelloni recipes are just what you need. Inspired by Jamie Oliver’s fresh takes, this guide will walk you through cooking easy recipes for cannelloni featuring rich meats, vibrant greens, earthy mushrooms, and wholesome vegetables—all baked to bubbling, golden perfection. Whether you’re a meat lover or prefer vegetarian fare, these recipes will satisfy your cravings and become favorites for weekend feasts.
1. White Ragu Cannelloni with British Rose Veal, Pork, and Stinging Nettles
This version takes the classic ragu to new heights by using a white sauce base with British rose veal and free-range pork shoulder. The combination is creamy and gentle, with layers of flavor balanced perfectly on a bed of wild stinging nettles—a surprising but nutritious green that adds a fresh bite.
Building the White Ragu
Start by gently slicing onions and adding bay leaves and thyme to a pan with olive oil. As the herbs warm up, they release an amazing aroma that sets the stage for this comfort food classic. Next, add leeks—cooked with a knob of butter for extra richness—along with garlic, celery, and just the right seasoning to build the base of the ragu.
For the meat, mix equal parts British rose veal and free-range pork shoulder. This combo offers the perfect balance of lean and fat, ensuring the ragu remains creamy and light-colored—no caramelization or heavy browning here. Pour in a splash of white wine (choose one you’d enjoy drinking later) to add depth.
Adding peeled potatoes to the ragu is a clever twist—they soak up the flavors beautifully and give the sauce body. Sprinkle in two heaped tablespoons of flour, season, grate half a nutmeg, then pour in two liters of whole milk, which replaces the traditional tomato base. To keep the ragu moist during baking, cover it with greaseproof paper before placing it in the oven at 160°C (320°F) for two hours.
Finishing Touches and Assembly
After baking, the ragu will have a texture reminiscent of rice pudding with light curds, similar to ricotta. Strain out the herbs, and you’ll have a rich filling for your cannelloni tubes while the natural sauce stays underneath to keep everything moist.
Next, prepare the stinging nettles by stripping the leaves from the stalks—don’t worry, cooking removes their sting. Wilt them quickly in olive oil, butter, garlic, and a sprinkle of chili flakes for a subtle kick. This green bed adds a nutritious and vibrant base for the cannelloni.
Fill dried cannelloni tubes with the white ragu, line them up in a tray, and top generously with a blend of British cheeses like Montgomery’s cheddar, Mrs. Kirkham’s Lancashire, and Birkswell. Scatter nutty button mushrooms on top, which roast beautifully without touching the sauce, then drizzle with extra virgin olive oil.
Bake at 180°C (350°F) for 40 minutes until golden and bubbling. Serve over the nettle greens for a dish that’s truly fit for kings—rich, creamy, and packed with flavor.
2. Mushroom Cannelloni with Oozy Cheese Sauce
For a meat-free option that even carnivores will love, this mushroom cannelloni is oozing with cheesy goodness and earthy flavors. It’s a perfect way to enjoy a rich, comforting meal without any meat, making it a great introduction to meat-free days.
Preparing the Filling
Start by cooking down leeks and onions in olive oil, then add garlic and plenty of mushrooms for that deep umami flavor. Season with salt and pepper and let the mixture fry gently for about 15 minutes to concentrate the flavors.
Chop the cooked mixture for a homemade texture, then let it cool while you prepare a quick white sauce in the same pan. Use olive oil and flour as a thickening base, then slowly add milk to create a smooth sauce. Stir in a big handful of grated cheddar to make it extra oozy.
Assembling and Baking
Fill the dried cannelloni tubes with the mushroom mixture using a simple kitchen hack: load the filling into a sandwich bag, snip a corner, and pipe it in. Arrange the filled tubes in a tray, pour over the cheesy sauce, scatter extra mushroom slices on top, and finish with a drizzle of olive oil.
Bake at 180°C (350°F) for 40 to 45 minutes until golden and bubbling. The crispy edges and creamy center make this one of the best meat-free meals around.
3. Broccoli and Cauliflower Cannelloni with Cheesy Creme Fraiche Sauce
This vegetable-packed cannelloni features a medley of broccoli, cauliflower, and romanesco, blended into a flavorful filling with garlic, thyme, chili, and anchovies for an unexpected boost of umami that no one will suspect.
Cooking the Vegetables and Flavor Base
Boil the stalky bits of the vegetables for about six minutes until tender, then sauté garlic, thyme, and plenty of chili in olive oil. Add anchovies to the pan—they’ll melt down and enhance the dish’s savory depth without tasting fishy. Cook everything down with a lid on to intensify the flavors.
Making the Sauce and Assembly
Instead of a traditional béchamel, use creme fraiche mixed with a generous amount of Parmesan and seasonings to make a quick, cheesy white sauce. Add an egg for richness and texture, then blend it smooth.
Pour a thin layer of tomato passata mixed with a splash of red wine vinegar into the bottom of your baking tray to keep the pasta moist while baking. Fill the cannelloni tubes with the cooked vegetable mixture, arrange them in the tray, and cover with the creme fraiche sauce and extra Parmesan. Add little knobs of mozzarella on top for that irresistible golden, stringy finish.
Bake at 190°C (375°F) for about 30 minutes until bubbling and golden. The result is a luscious, cheesy dish that even meat lovers will adore.
4. Super Green Cannelloni with a Ricotta and Basil Sauce
Last but not least, this vibrant super green cannelloni uses a mix of Swiss chard, curly kale, cavolo nero, stinging nettles, and spinach for a powerhouse of nutrients and flavor. It’s a fantastic way to sneak greens into a comforting pasta dish that’s both healthy and satisfying.
Cooking the Greens and Tomato Sauce
Sauté onions and garlic to bring out sweetness, then add the greens—fresh and frozen—to the pan. Season with nutmeg for warmth, and cook until they turn a beautiful dark green color. Blend the greens with lemon zest and juice for brightness.
Use the same pan to make a simple tomato sauce with garlic, chili, basil stalks, plum tomatoes, and water. Simmer for 10 minutes until saucy and fragrant.
Ricotta and Basil White Sauce
Blend ricotta cheese with basil, skim milk, Parmesan, and an egg to create a smooth, pastel green sauce that will go on top of the cannelloni, adding creaminess and a fresh herbal note.
Putting It All Together
Pour the tomato sauce into a large tray, line up the cannelloni filled with the super green mixture, and smother with the ricotta and basil sauce. Sprinkle Parmesan on top and bake at 180°C (350°F) for 40 minutes until golden and bubbling. Serve with a crisp mixed salad and crusty seeded bread to mop up all the delicious juices.
With only 383 calories per serving and packed with three of your five a day, this dish is designed to make your family’s mouth water while keeping things light and nutritious.
Enjoy the Art of Cooking with These Easy Recipes
These four cannelloni recipes bring together the best of comfort food and nutritious ingredients, all achievable with simple techniques and easy recipes. Whether it’s the rich white ragu with veal and pork, the earthy mushroom delight, the vibrant vegetable medley, or the super green ricotta-filled tubes, each dish offers something special for your kitchen table.
Gather your loved ones, enjoy the process of cooking, and celebrate the joy of sharing these delicious cannelloni dishes. With their layers of flavor, comforting textures, and beautiful presentation, these recipes are sure to become staples in your home cooking repertoire.
This article was created from the video How To Cook 4 Delicious Cannelloni Pasta Recipes At Home with the help of AI.
The Best Chicken Satay: A Happy Guide to Cooking Easy Recipes

If you’ve ever craved a dish that’s bursting with flavor, easy to prepare, and perfect for any occasion, look no further than this chicken satay recipe. Created by Chef John from Food Wishes, this recipe combines convenience with incredible taste, making it a standout among easy recipes for cooking at home. Featuring a rich marinade and a luscious peanut sauce, this chicken satay is both aromatic and addictive, guaranteed to become a favorite in your recipe collection.
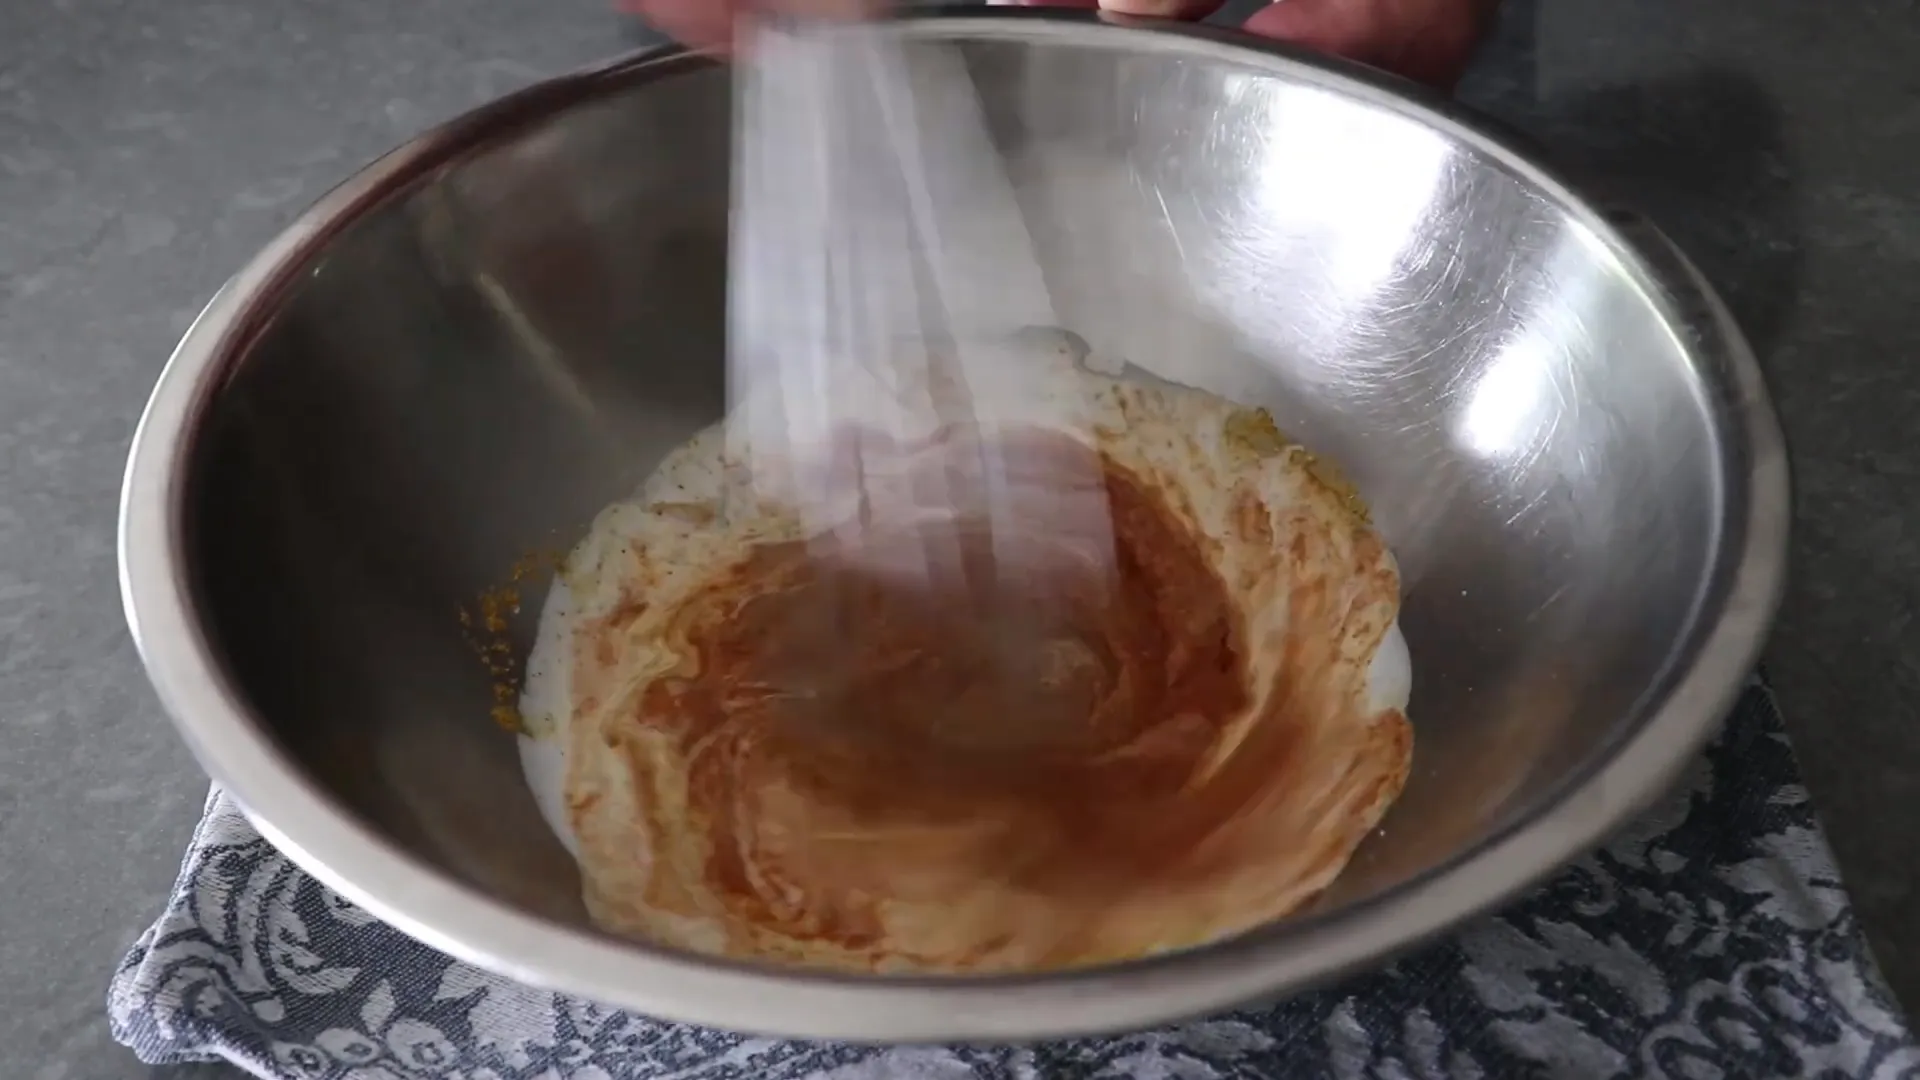
Step 1: Prepare the Flavorful Marinade
The secret to this incredible chicken satay starts with a marinade that’s both simple and packed with authentic flavors. Instead of spending hours toasting and grinding spices, this recipe uses two key shortcut ingredients to save time without sacrificing taste:
- Jarred red curry paste – ready to use and full of vibrant flavor
- Curry powder – adds warmth and complexity
To these, add a pinch of salt, a mix of white and brown sugar for balance, a splash of Asian fish sauce for that umami punch, and the star ingredient: real, full-fat coconut milk. Whisk everything together thoroughly, and your marinade is ready in just minutes.
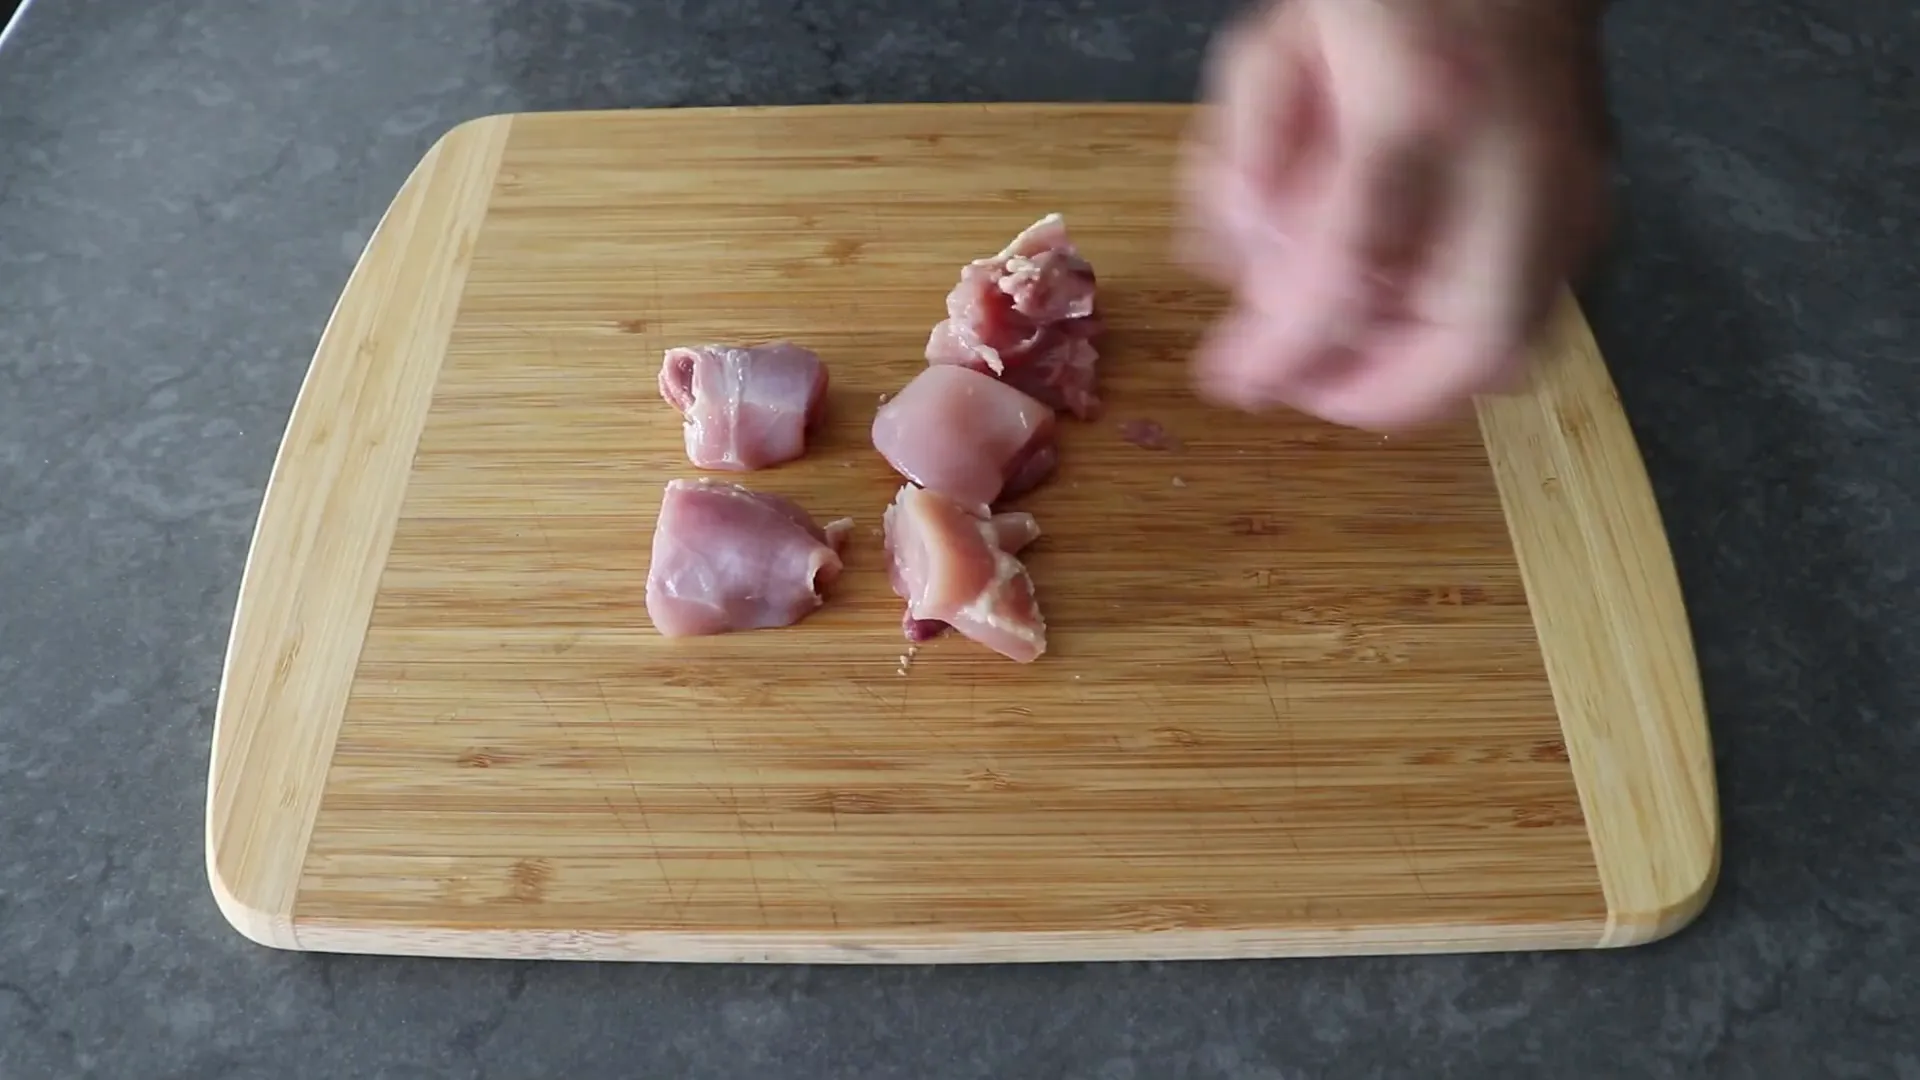
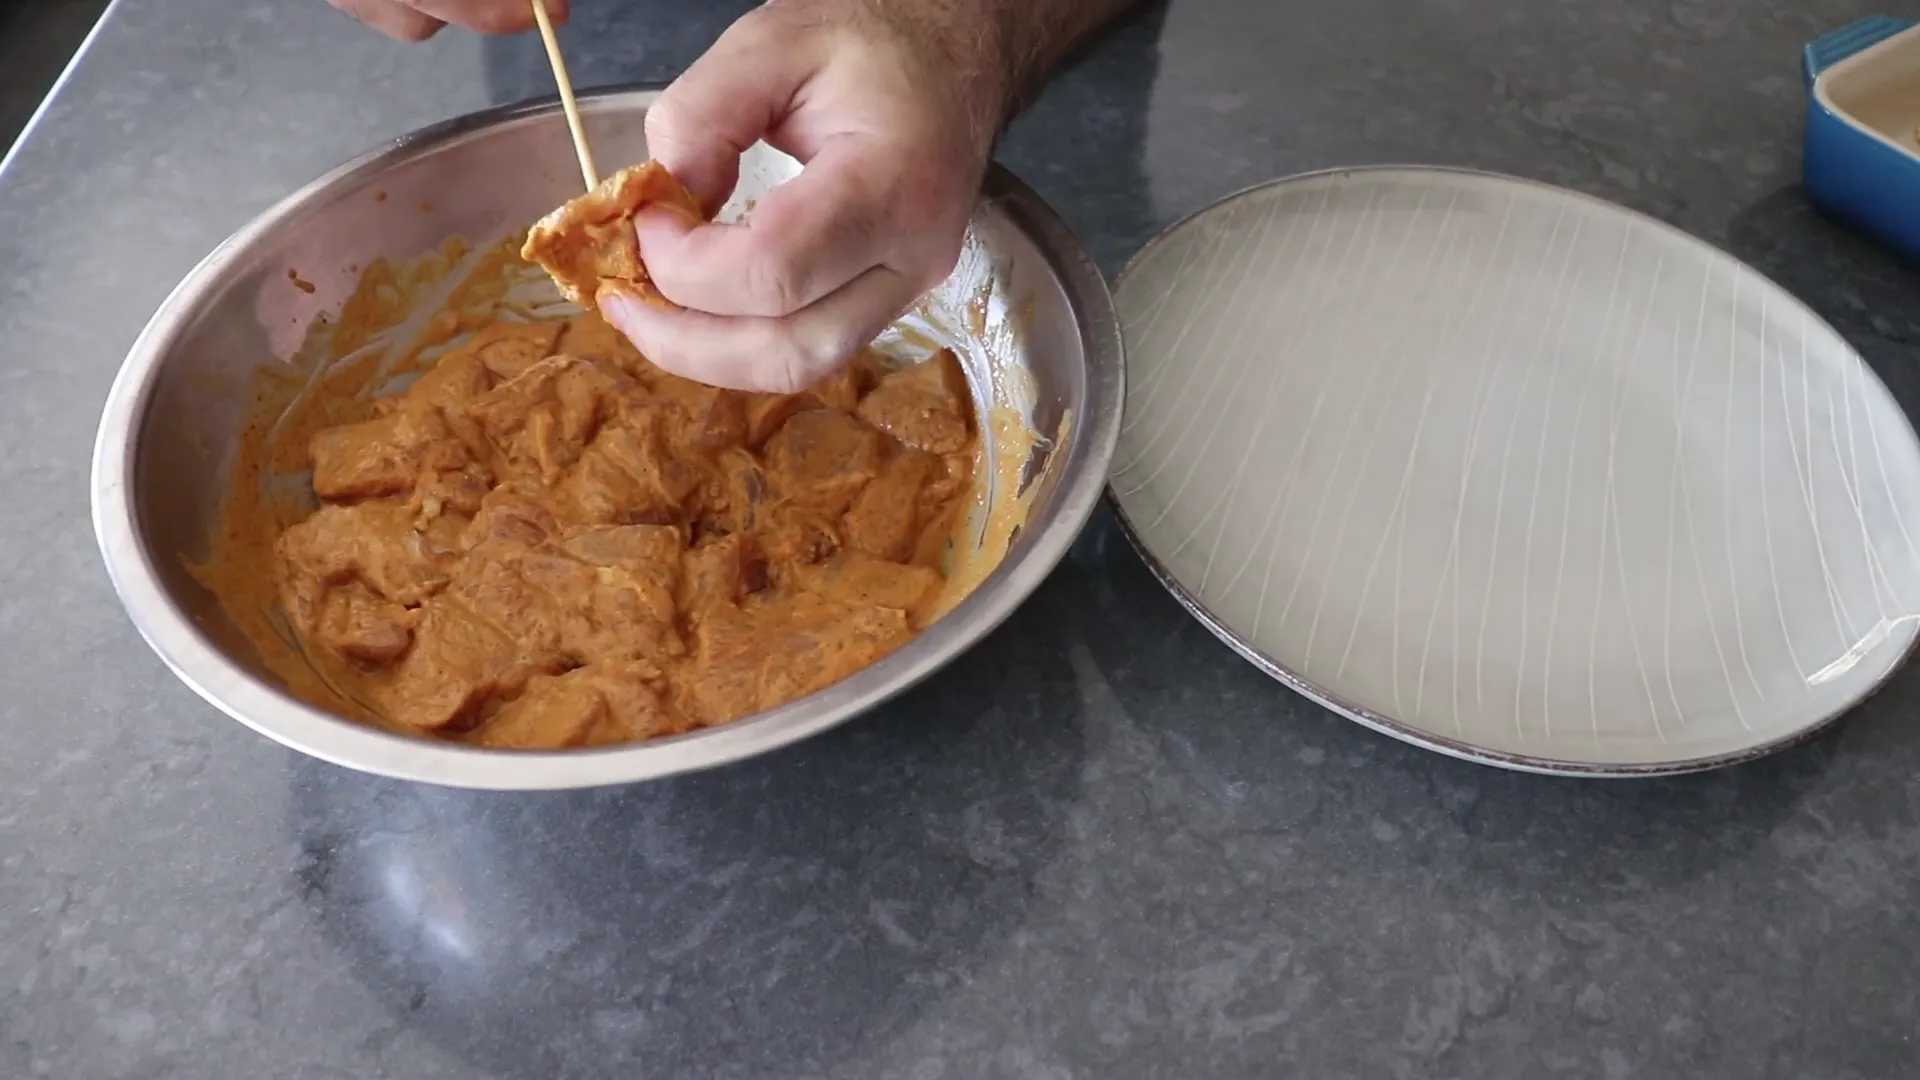
Step 2: Cut and Marinate the Chicken
For the best results, use boneless, skinless chicken thighs. They have a smaller, flatter side and a bigger, fatter side. Cut between these two parts at the thinnest point, then slice the smaller piece in half and the bigger piece into quarters. This will yield six chunks of relatively uniform size, perfect for even cooking.
While chicken breast can be used, it tends to dry out quickly, so thighs are preferred for their moisture and flavor. Don’t trim off the little pieces of white surface fat — they help keep the meat juicy and tasty.
Once cut, toss the chicken chunks into the marinade and mix well to coat evenly. Wrap the bowl and refrigerate for about two hours. Chef John recommends this shorter marination time over overnight because it maintains a better texture while delivering the same delicious flavor.
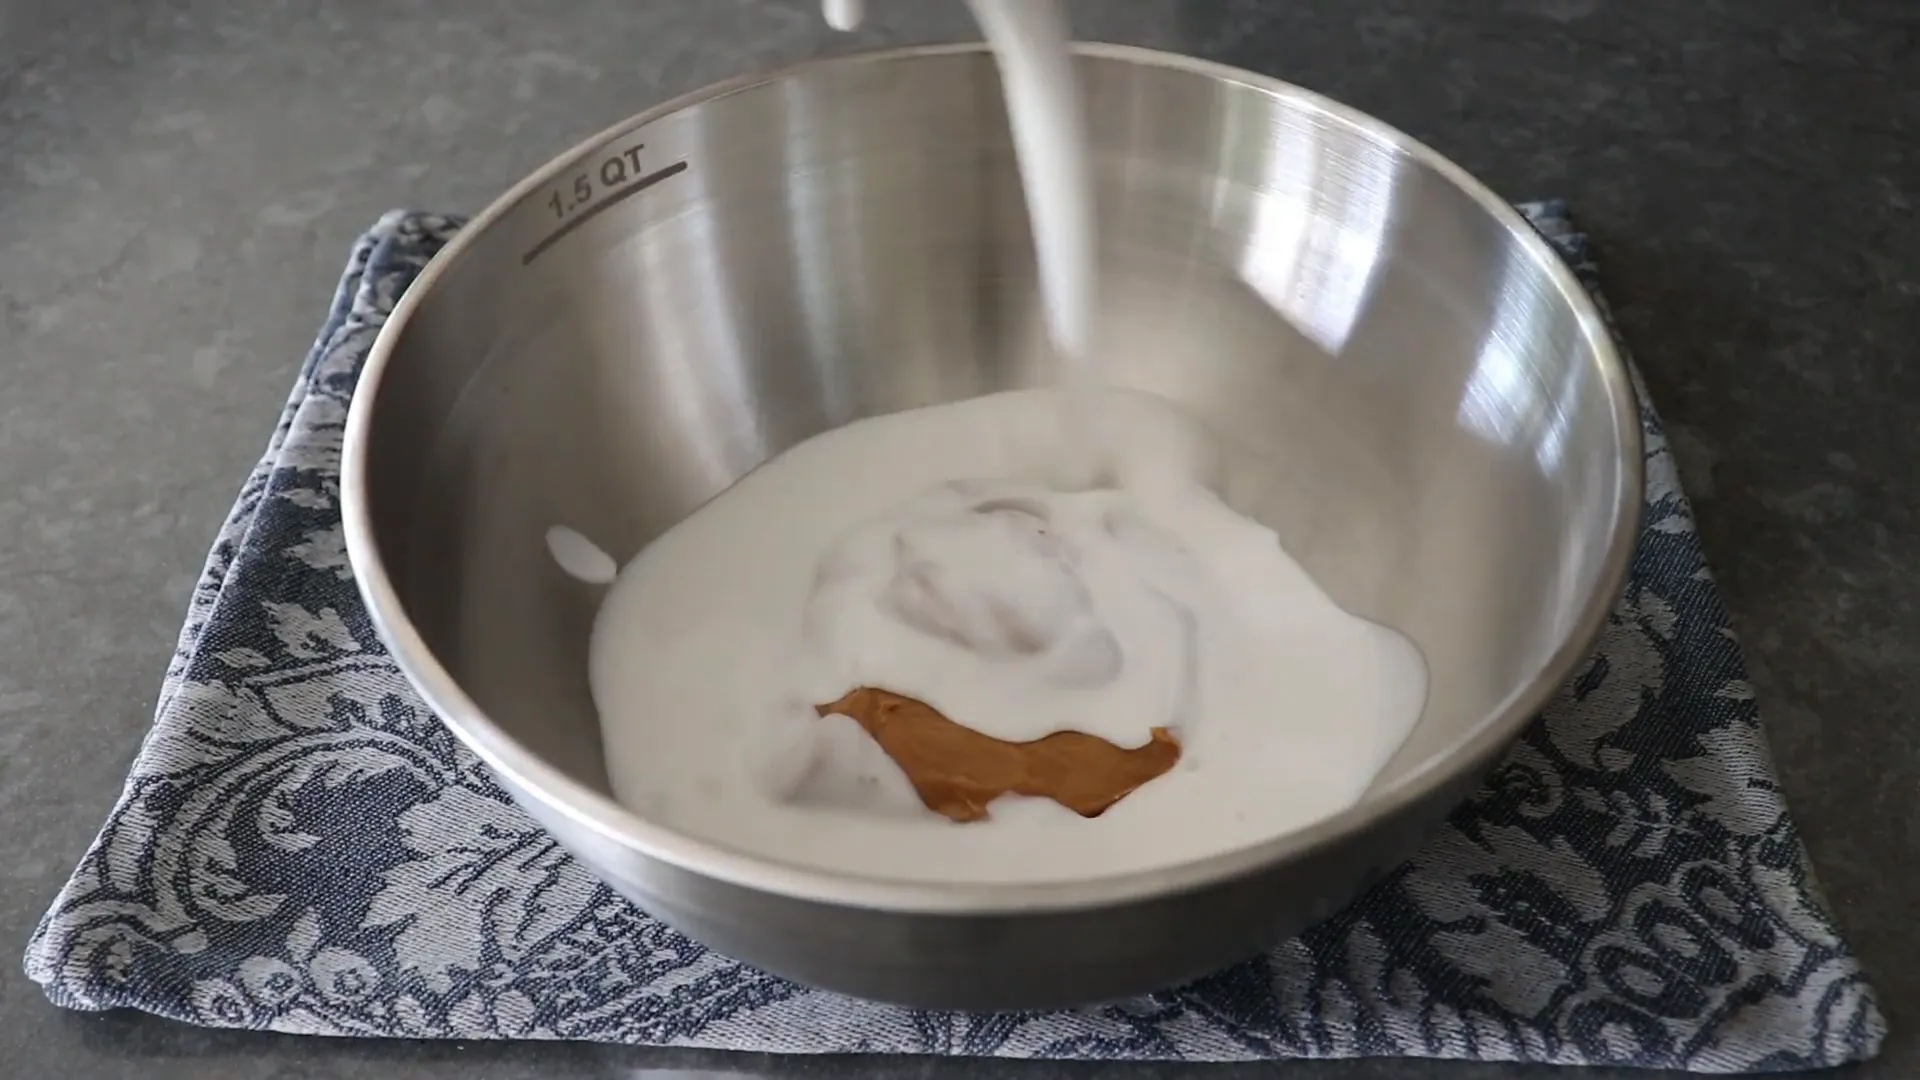
Step 3: Soak Skewers and Make the Peanut Sauce
While the chicken marinates, soak bamboo skewers in water to prevent them from catching fire on the grill. Although they may still char, this step helps them stay intact during cooking.
Next, prepare the peanut sauce, which perfectly complements the satay. Start with smooth, all-natural peanut butter, then add coconut milk, crushed garlic, and a bit of brown sugar—just enough to keep it on the savory side. Add soy sauce and Asian fish sauce for depth, and squeeze in the juice of a whole lime to brighten the flavors.
For a special touch, drizzle in some sesame oil to add a nutty note that enhances the peanut butter. Finish with your choice of hot sauce (Chef John uses Sriracha) to add a little heat. Adjust the sauce’s thickness with a splash or two of water until it’s just right—thick but pourable.
Step 4: Skewer the Chicken
After marinating, thread the chicken chunks onto the soaked skewers. Aim for about four pieces per skewer, making sure the meat pieces are touching but not tightly packed. This allows heat to circulate and cook the chicken evenly.
Note: Some skewers might be dull, making it tricky to pierce the meat. If this happens, a little patience or a sharper skewer can help.
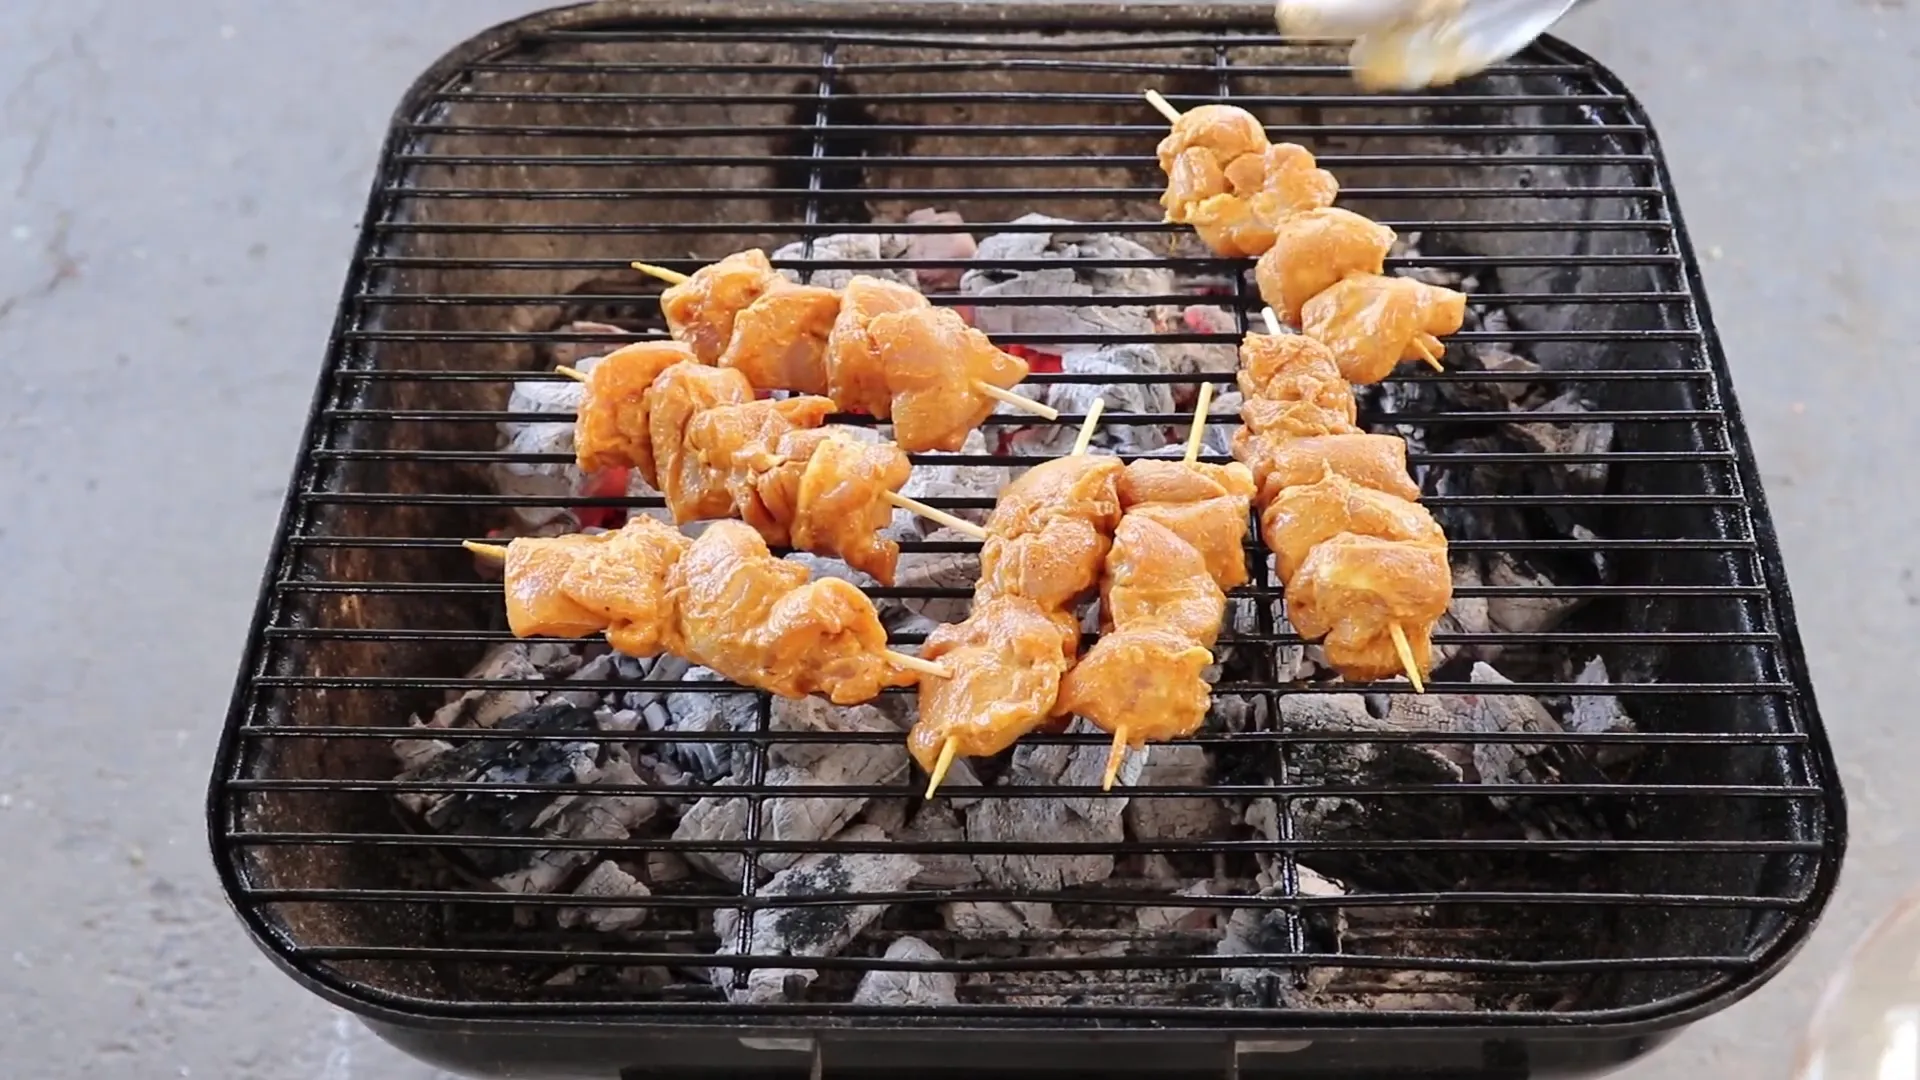
Step 5: Grill to Perfection
Charcoal grilling is the top choice for cooking chicken satay. Once your charcoal fire is ashy white and hot, lightly oil the grill grates and place the skewers down. Grill for about 4 to 5 minutes per side, depending on the chunk size and whether you’re using thighs or breast (breast cooks faster).
If charcoal grilling isn’t an option, pan-searing, cast iron grill pans, or broiling in the oven work well too. However, the smoky, bittersweet char marks from charcoal really elevate the dish, echoing the authentic satay grilling traditions from the island of Java.
Check for doneness by pressing the meat—it should firm up and spring back. A thermometer reading of 155°F to 160°F for chicken thighs is ideal.
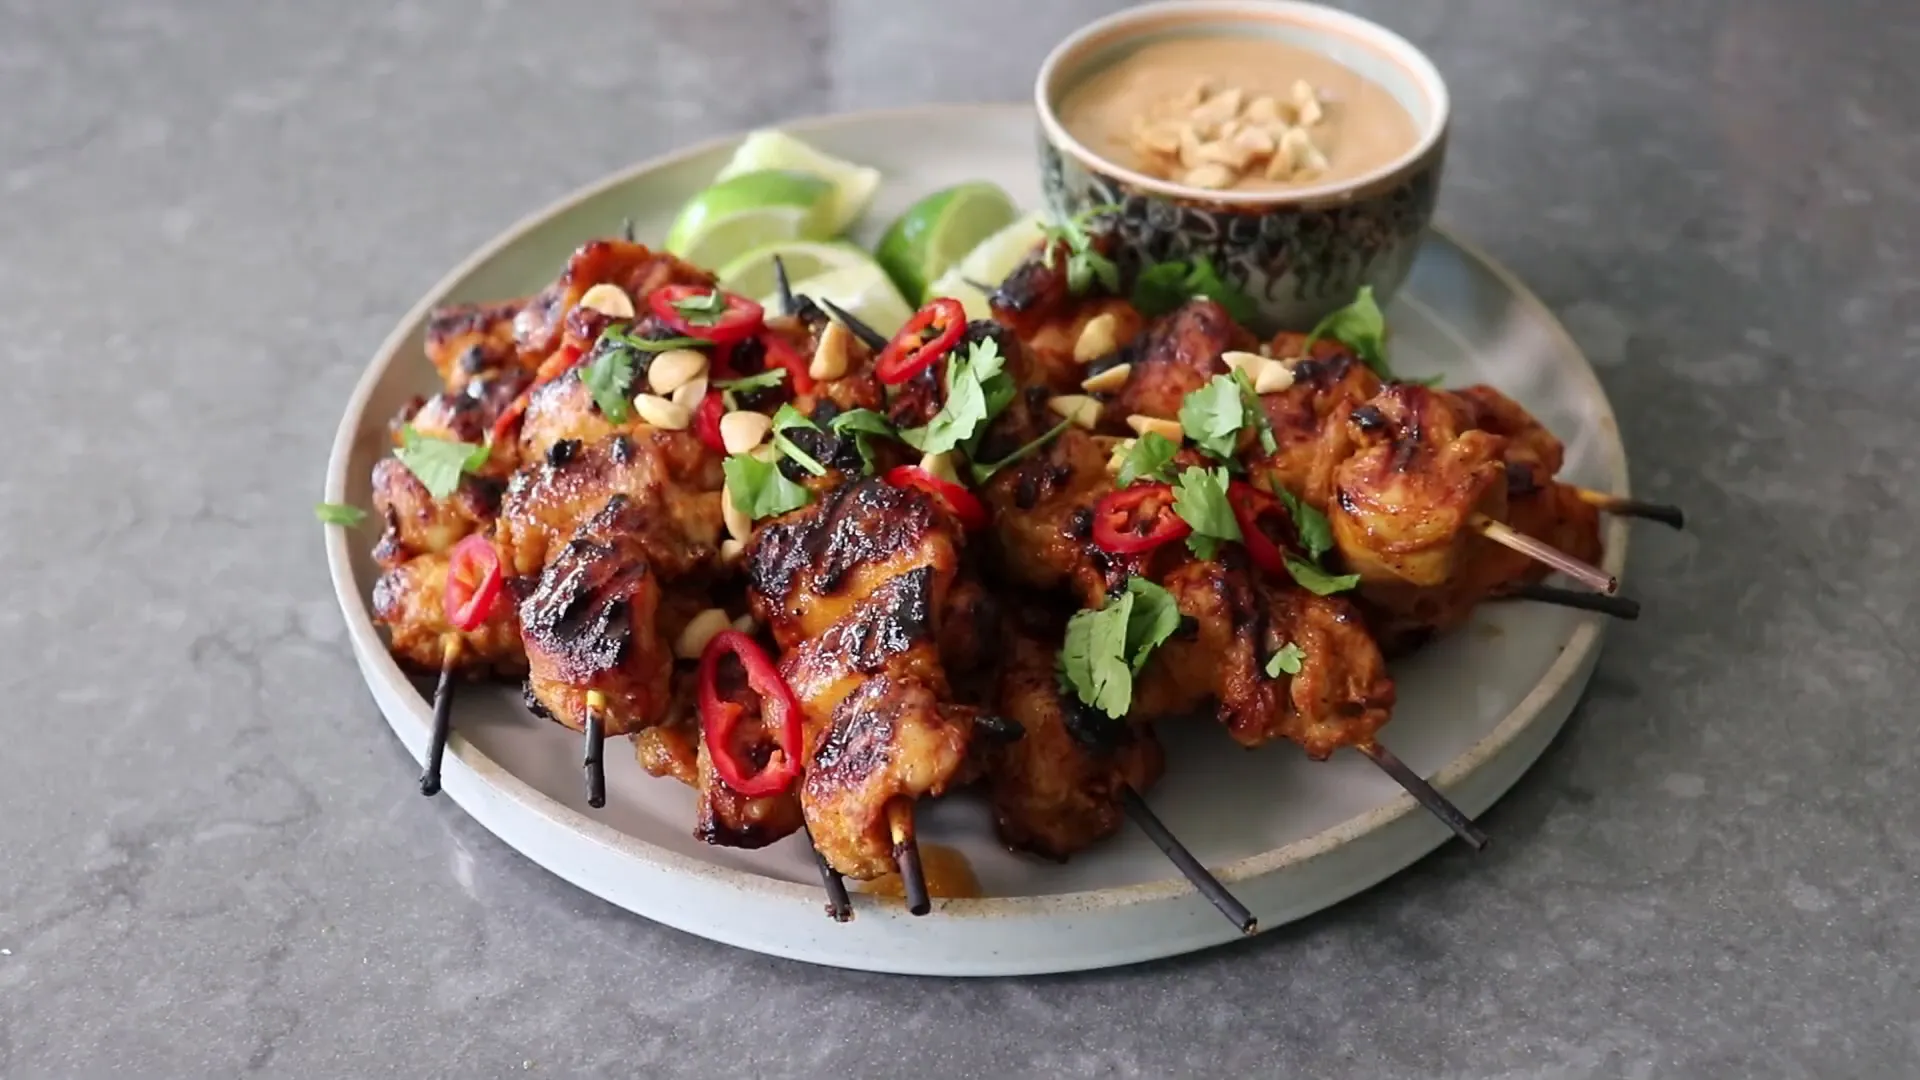
Step 6: Serve with Style and Enjoy
Once grilled, transfer the chicken satay to a serving plate. Serve with plenty of the peanut sauce and fresh lime wedges on the side for squeezing. For a final touch of texture and color, scatter sliced hot red chilies, chopped roasted peanuts, and freshly chopped cilantro over the top.
This combination of juicy, aromatic chicken and the slightly sweet, salty, and savory peanut sauce is truly irresistible. It’s a dish that’s hard to stop eating once you start!
If you’re new to chicken satay or looking for a fast and easy recipe that doesn’t compromise on flavor, this is the perfect recipe to try next. It’s a beautiful grilled chicken dish that stands out in any meal and is packed with vibrant, authentic flavors.
For the full printable recipe with ingredient amounts and more details, visit the original recipe page linked below. Happy cooking, and enjoy this delicious chicken satay that’s as fun to make as it is to eat!

