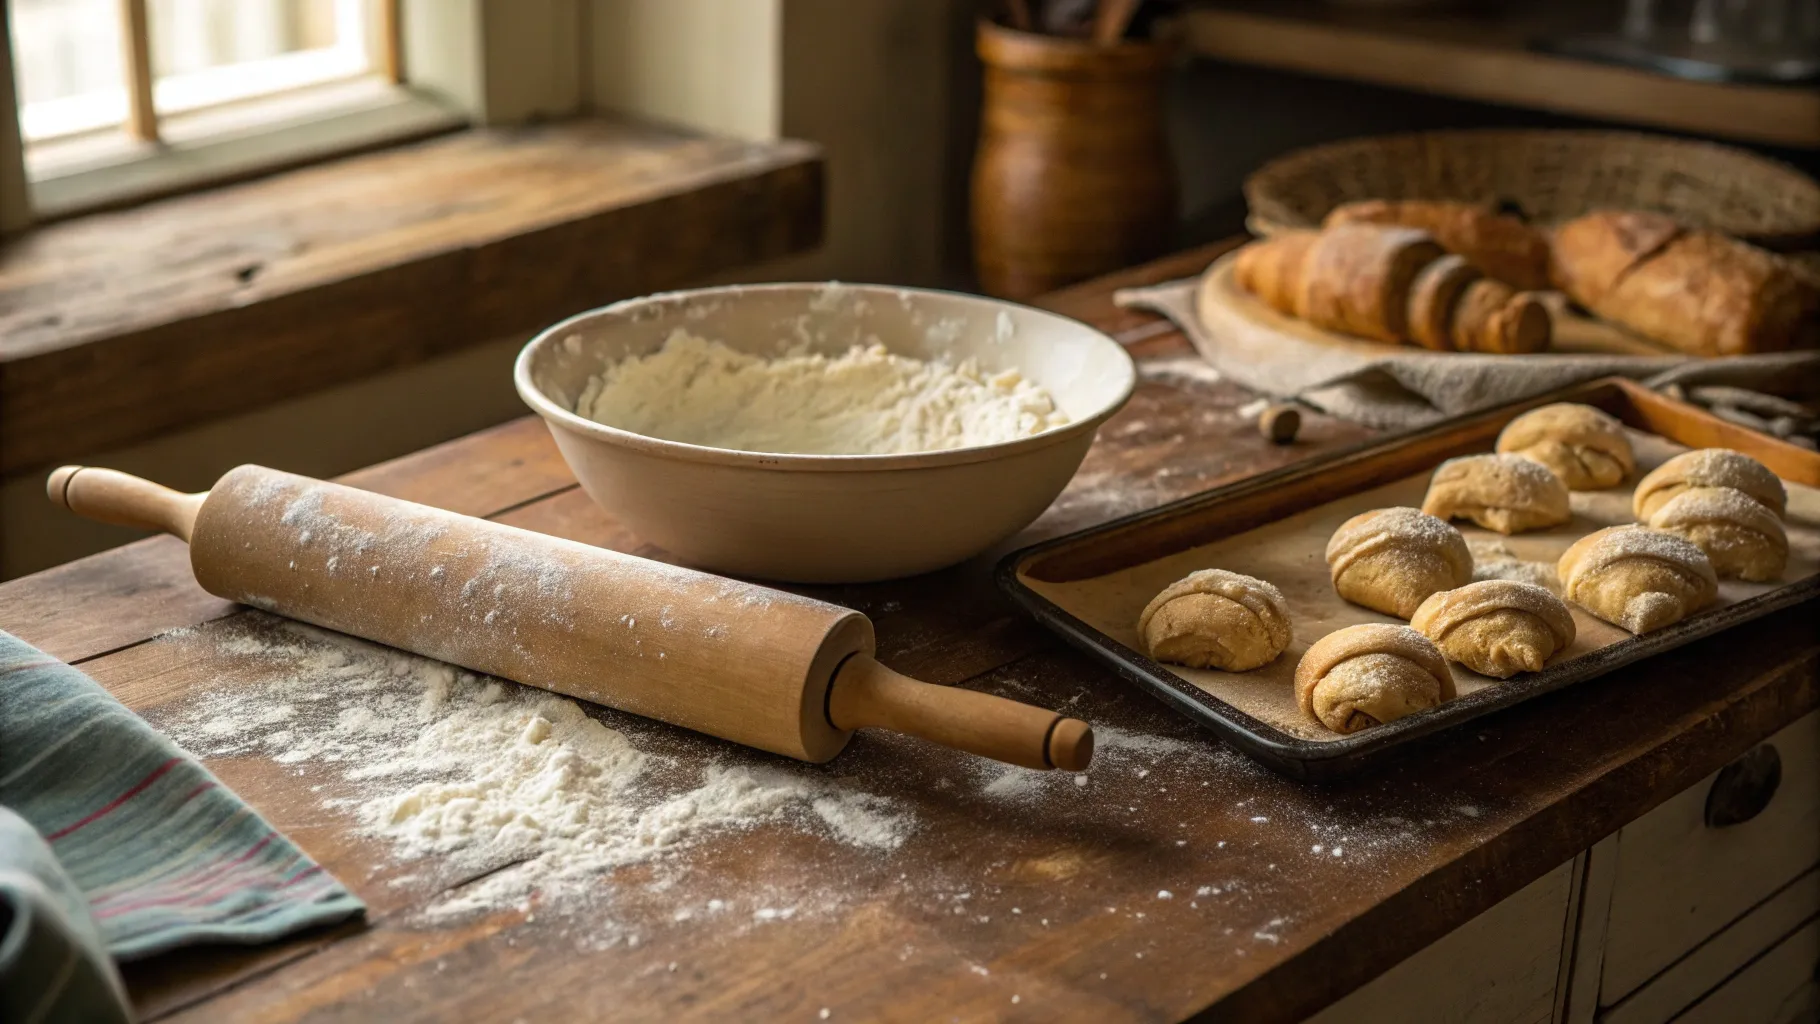
Ever wanted your home to smell like freshly baked European butter and croissants? I’m here to guide you through making perfect croissants completely by hand—no fancy machines, no kneading frenzy, just pure focus and patience. This cooking recipe is one of those tasty recipes that takes time, but trust me, the results are worth every second. Whether you’re an American recipe enthusiast or just love buttery, flaky croissants, this step-by-step tutorial will help you master the art of croissant-making over two to three days.
Step 1: Bloom the Yeast and Prepare the Dough
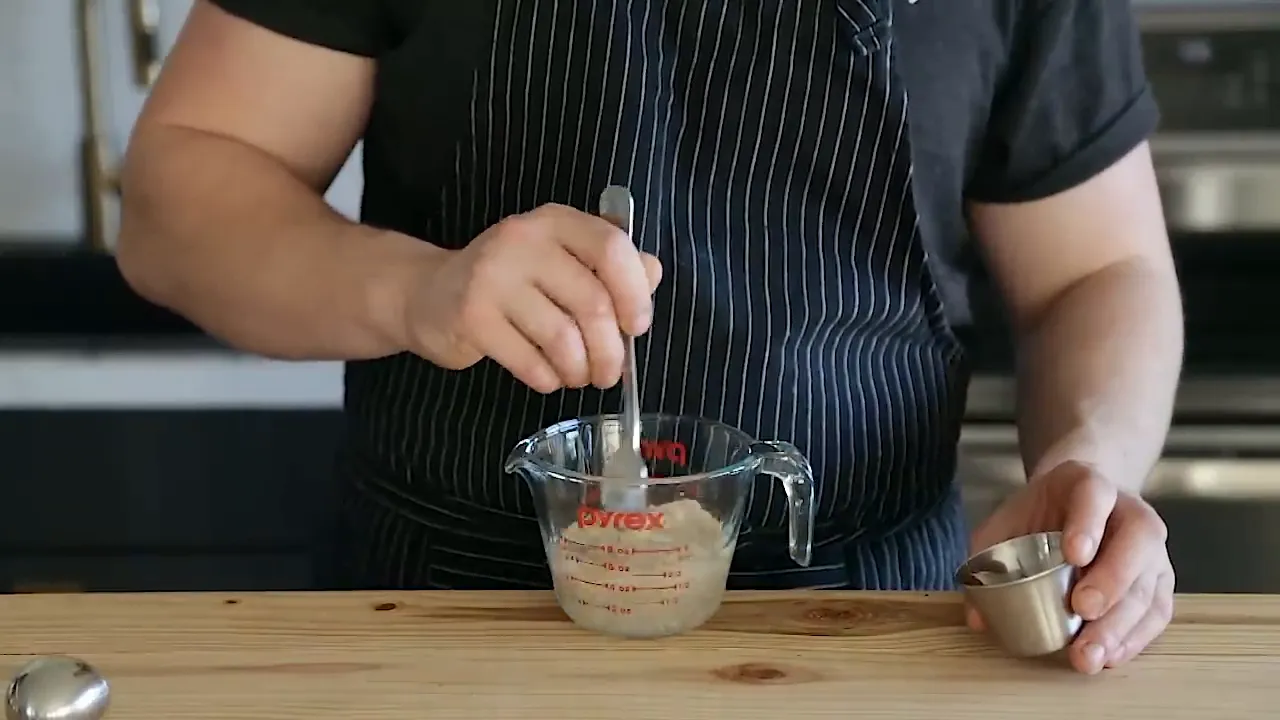
First, we need to bloom our yeast properly. For this recipe, I use six grams of active dry yeast whisked into 130 grams of water heated to about 100°F. Precision is key here, so I highly recommend using a kitchen scale for accuracy—croissants demand it.
Let the yeast mixture sit for about 10 minutes until it becomes foamy on top. Meanwhile, in a medium-sized mixing bowl, whisk together 250 grams of bread flour, 30 grams of granulated sugar, and 5 grams of fine sea salt until evenly combined.
Next, add your bloomed yeast, one egg yolk, and 25 grams of gently melted unsalted butter. Mix with a spatula until the dough begins to form, then lightly knead with your hands just until it comes together. Don’t fret; this won’t take long.
To strengthen the dough, pick it up and slap it against your work surface, then fold it over itself. Repeat this for about 30 seconds to a minute until the dough’s surface is smooth.
Shape the dough into a ball, place it back in the bowl, cover with plastic wrap, and refrigerate for 10 minutes.
Step 2: Perform the First Two Turns to Develop Gluten
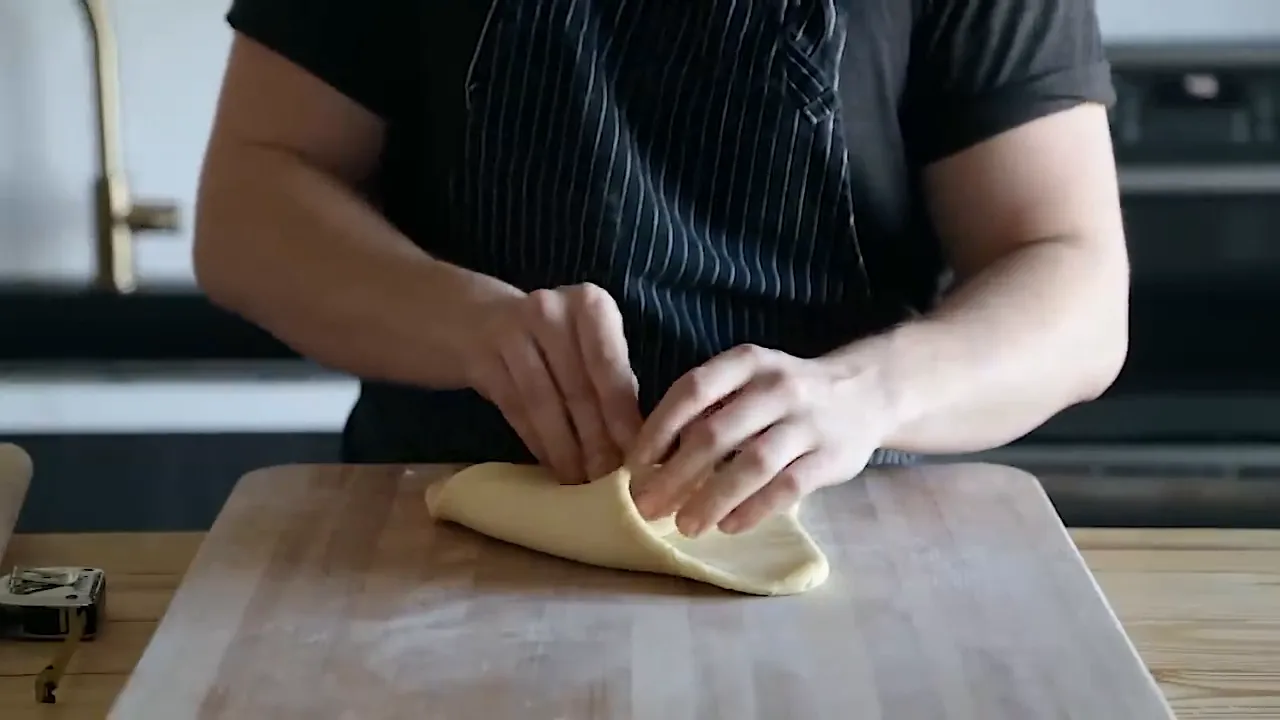
After resting, it’s time for the first turn. Gently stretch and fold the edges of the dough over itself, patting it down lightly. Do this all around the perimeter until the dough becomes elastic and smooth. Place it seam side down in the bowl, cover with plastic wrap, and chill for another 10 minutes.
Repeat this stretching and folding process once more for a total of two turns, being careful not to tear the dough. Finally, wrap the dough and let it rest in the fridge for 25 minutes.
Step 3: Shape the Dough into a Perfect Square and Chill Overnight
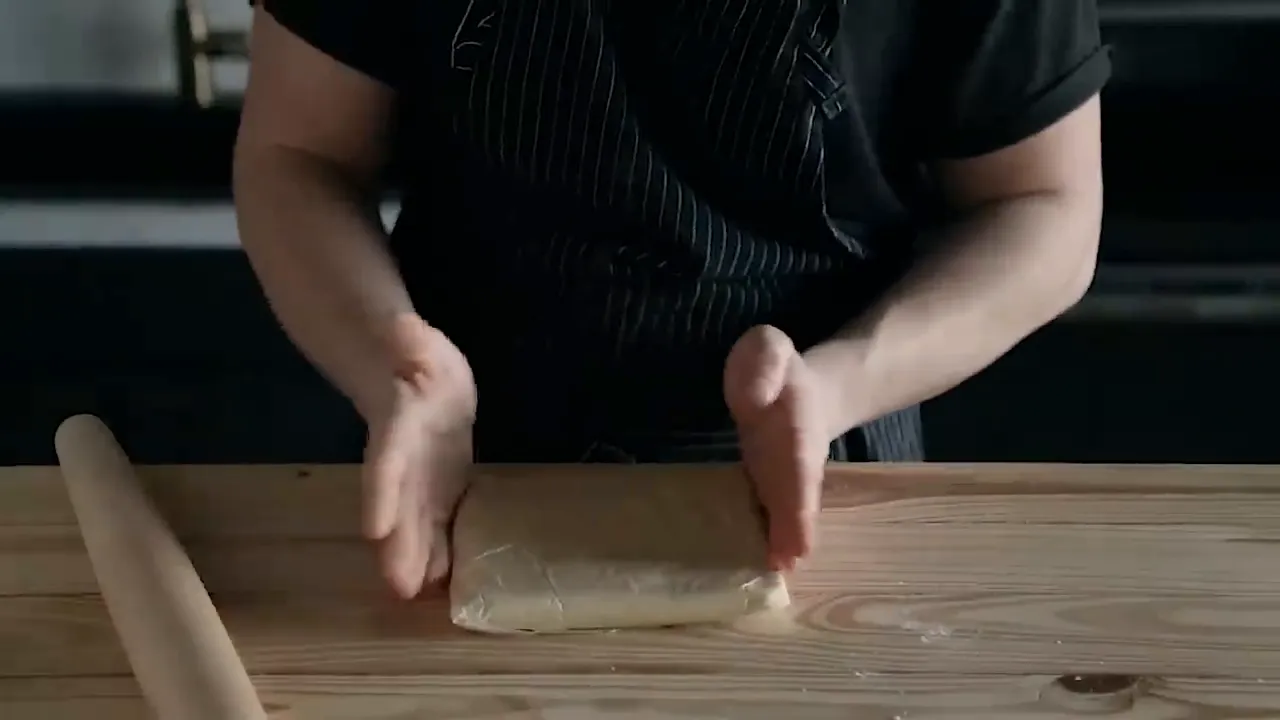
Place your dough on a sheet of wax paper and roll it out to a 7-inch by 7-inch square. Use a ruler and your rolling pin to help get an even shape. Don’t press too hard to avoid bursting the dough out of the wax paper. If it happens, carefully rewrap it, keeping the shape intact.
Once you have an even square, place the dough back in the fridge overnight for about 12 hours. This slow rest allows the dough to relax and develop flavor.
Step 4: Prepare the European Butter Block (Barrage)
Butter is the star of this recipe, so don’t skimp! Use high-quality European-style butter with a higher butterfat percentage for better layers and pliability.
Measure out 138 grams of butter and cut it into evenly sized pieces. On a sheet of wax paper, arrange these pieces roughly into a 4-inch by 4-inch square, leaving some space around the edges.
Fold the wax paper edges to make a 4-inch square and gently pound and roll the butter with a rolling pin until it forms a smooth, even 4-inch by 4-inch block—the barrage. Chill this block in the fridge for 15 to 25 minutes.
Step 5: Encase the Butter and Begin Laminating
Lightly flour your work surface and take the dough from the fridge. Flatten and elongate the edges slightly, then gently flatten the middle to reduce bumps.
Place the butter block diagonally in the center of your dough, with the butter’s edges facing opposite to the dough’s edges. Fold each dough edge over the butter, fully encasing it in a neat dough envelope. Pinch the edges to seal and let it rest for a minute or two to soften slightly if the butter feels too hard.
Lightly flour your rolling pin and gently press down on segments of the dough to help spread the butter evenly before rolling.
Step 6: Roll and Fold the Dough – The First Fold
Roll the dough with even pressure into a long rectangle about 18 inches in length. Keep the shape rectangular and roll in one direction only to maintain even butter distribution.
Fold the bottom three-quarters of the dough up, then fold the top quarter down, making an envelope shape. Lightly tap the layers together with the rolling pin, wrap in plastic, and chill for one hour.
Step 7: Roll and Fold the Dough – The Second Fold
Unwrap and place the dough on a lightly floured surface. This time, roll it along the long side into a long skinny rectangle about 18 inches in length.
Fold the top third of the dough down, then fold the bottom third up to overlap evenly, creating a neat square. Adjust to ensure even edges, wrap in plastic, and chill for 12 hours or at least one hour if you’re short on time.
This resting period is crucial to keep the butter cold and allow the gluten to relax, making rolling easier and preserving the croissant layers.
Step 8: Final Roll and Cut the Croissants
Roll the dough into a wider, thicker rectangle about 10 inches wide and a quarter-inch thick. If the dough resists rolling and slides back, wrap it and chill for 30 minutes before continuing.
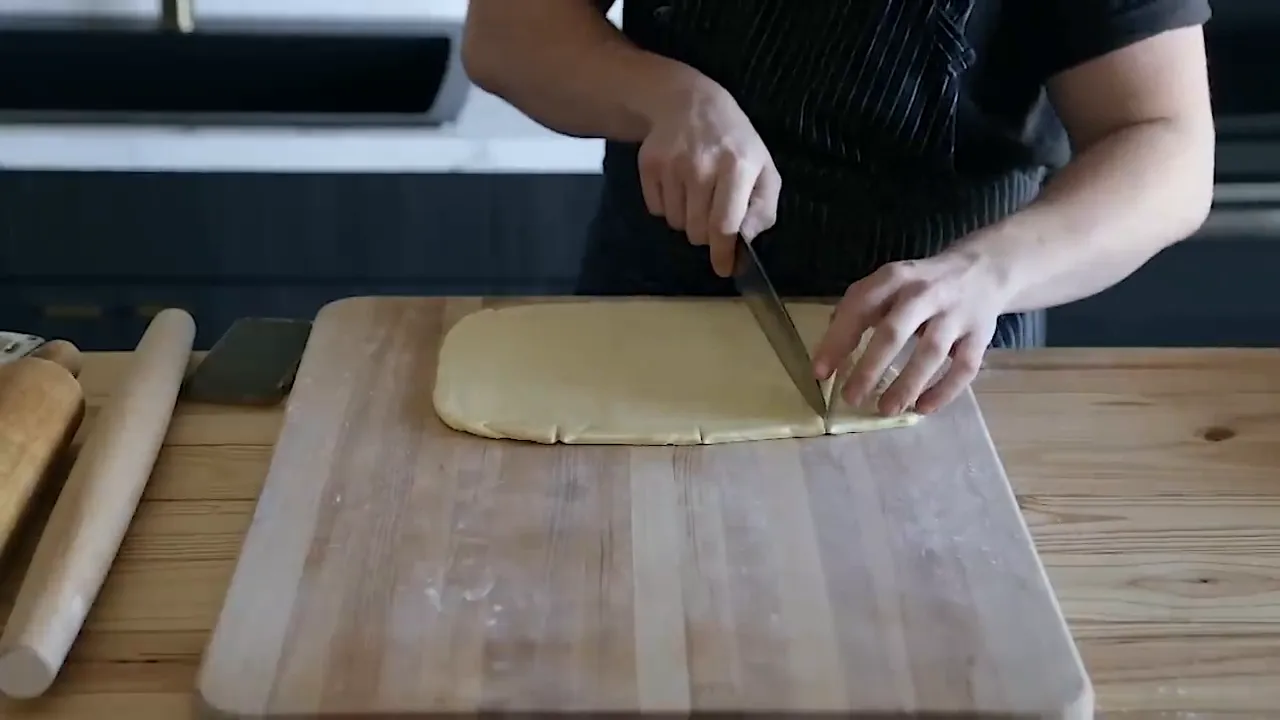
Mark the bottom edge of the dough at 4.5-inch intervals. Then mark the top edge between those points to form triangle guides.
Using a sharp knife, cut along the marks to create triangles—about five to six croissants per batch. If you want more, it’s easier to make two separate batches than doubling the dough size.
Step 9: Shape and Roll the Croissants
Take each triangle and gently stretch it about an inch longer—don’t force it if it resists. Roll the croissant tightly from the base to the tip, making as many rounds as you can without squeezing the layers.
Lightly pinch the tip to secure it and place the croissants on a parchment-lined baking sheet. Make sure the little tails are tucked underneath the croissants to prevent unraveling during baking.
Step 10: Proof and Bake Your Croissants
Brush the croissants lightly with egg wash (one whole whisked egg) before proofing. Cover the baking sheet with another inverted rimmed baking sheet to protect from drafts, or place in a warm, draft-free spot like the lowest oven rack with the oven light on and door slightly ajar.
Proof at 78°F for about two hours until nearly doubled in size, puffy, and jiggles slightly when shaken.
Once proofed, give them a gentle second egg wash. Then bake:
- In a convection oven: 390°F for 6 minutes, then 330°F for 10-15 minutes until golden brown.
- In a conventional oven: 400°F for 15-20 minutes until beautifully golden and puffy.

And that’s it! A labor of love resulting in buttery, flaky croissants that fill your home with irresistible aroma. I ended up with a bunch myself—too many to eat alone, but hey, that’s a good problem to have.
If you try this cooking recipe, don’t forget to share your croissant photos with me on Instagram. I love seeing your creations!
Enjoy your homemade croissants, and remember, patience and precision are your best friends in this tasty recipe adventure.
This article was created from the video How To Make Proper Croissants Completely By Hand with the help of AI.
How to Make Proper Croissants Completely by Hand: A Cooking Recipe for Tasty, Authentic American Recipe Lovers. There are any How to Make Proper Croissants Completely by Hand: A Cooking Recipe for Tasty, Authentic American Recipe Lovers in here.

