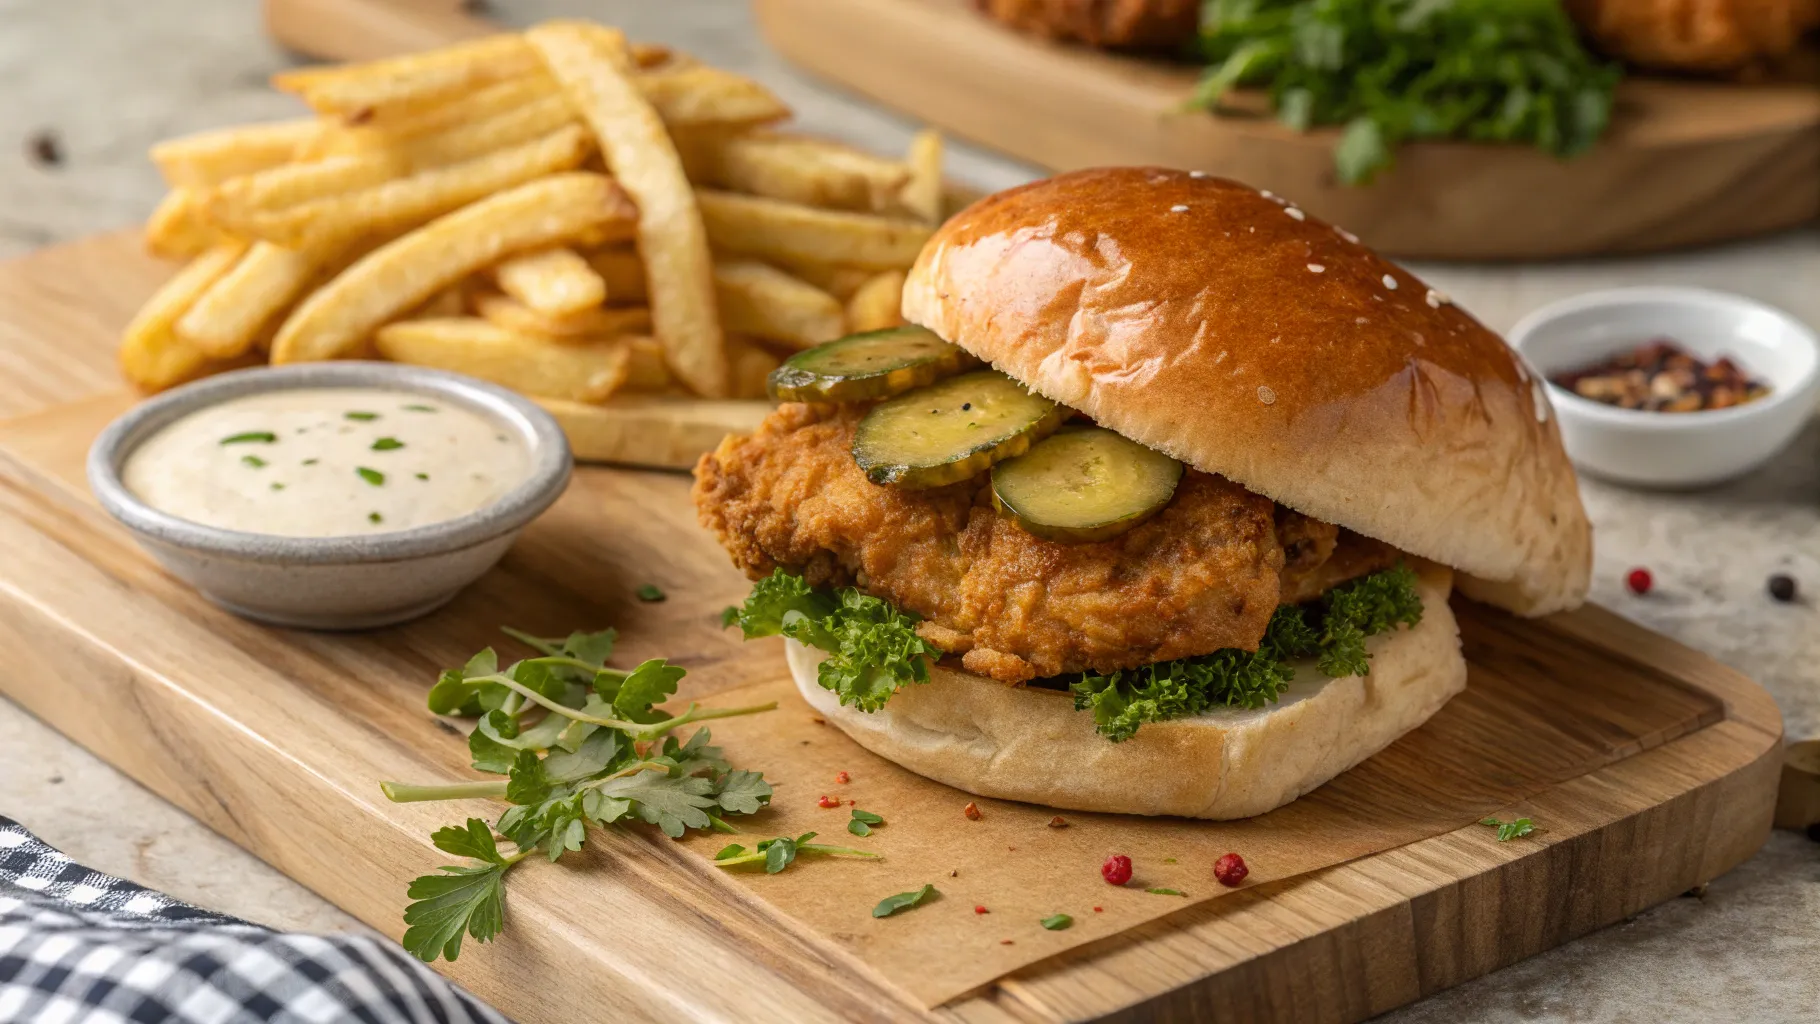
If you’re anything like me, you’ve probably noticed everyone going crazy over chicken sandwiches lately. But honestly, I think it’s about time we put our own spin on it because I’m pretty sure we can make it better. This cooking recipe is all about mastering the art of the fried chicken sandwich, taking inspiration from the famous Popeyes chicken sandwich but elevating it with my own techniques and flavors. Trust me, this tasty recipe is one you’ll want to make again and again.
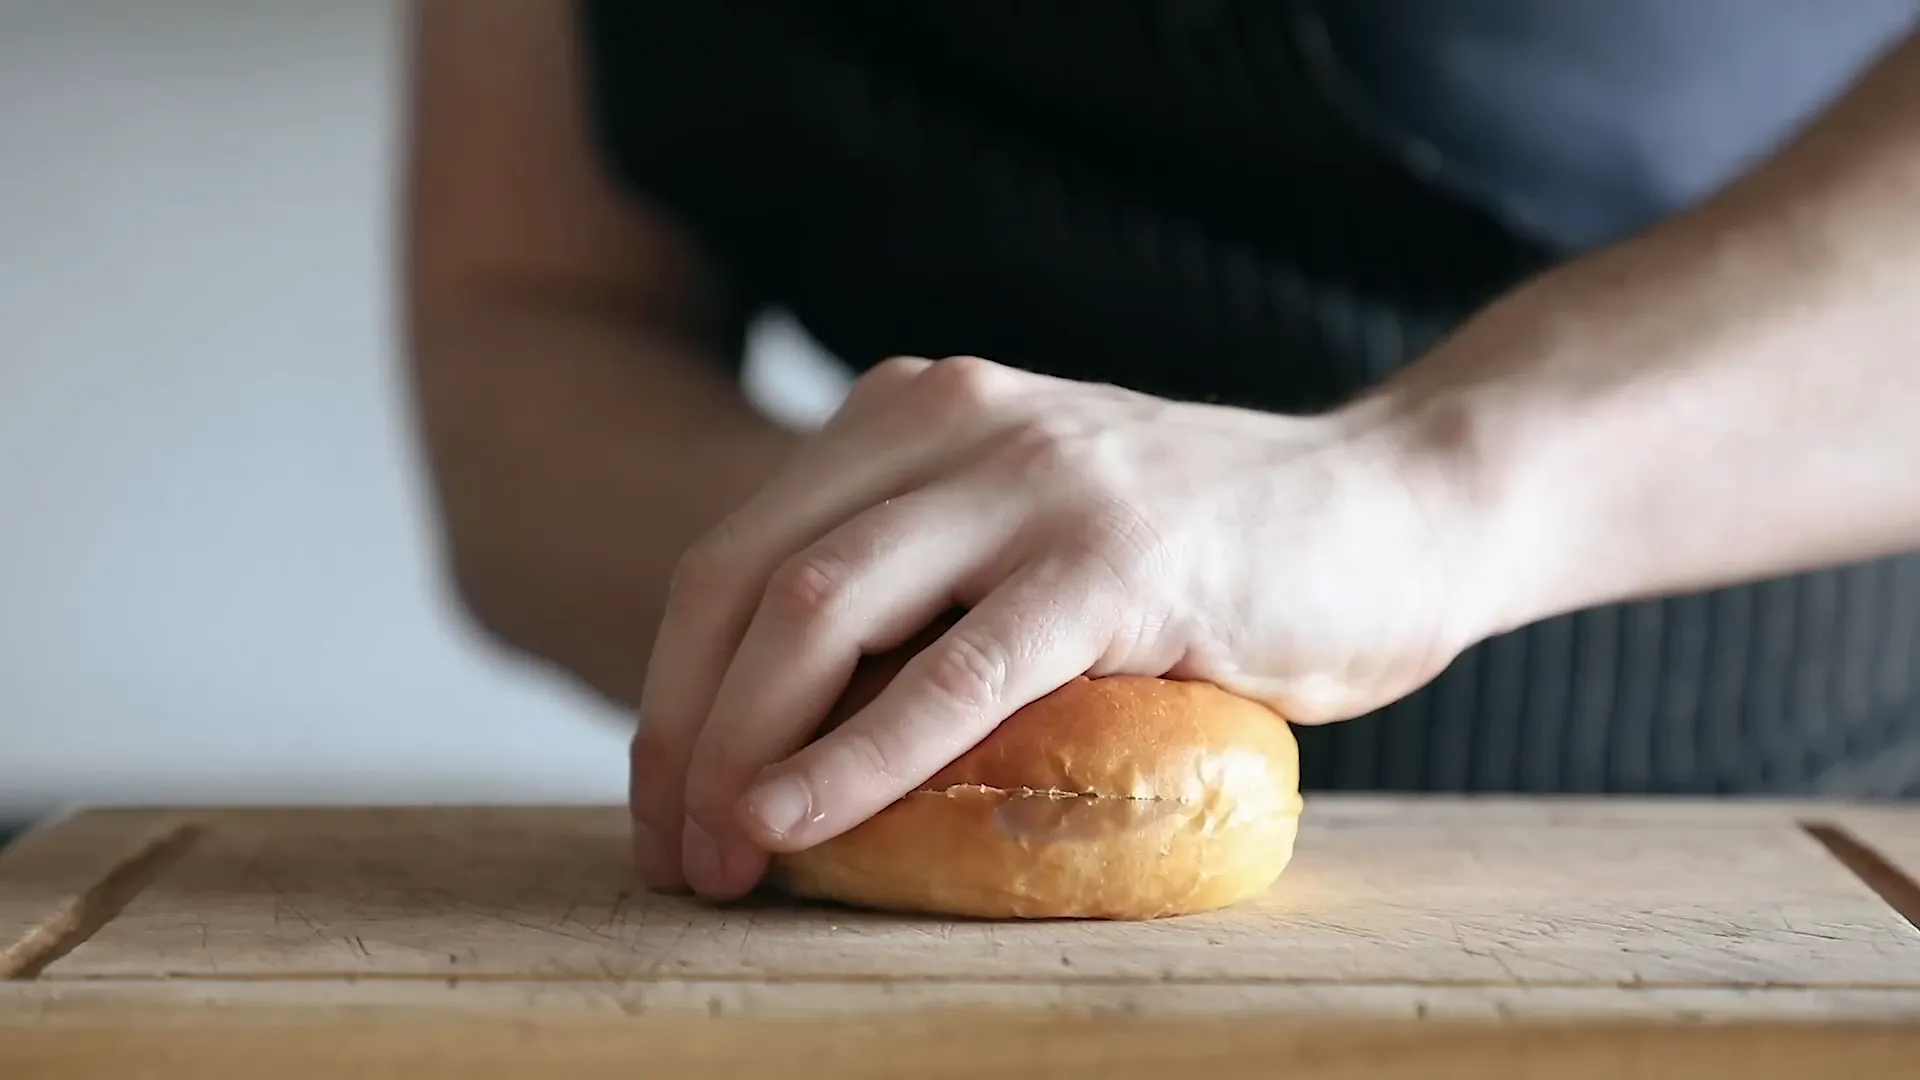
Step 1: Start with the Perfect Bun – Japanese Milk Buns
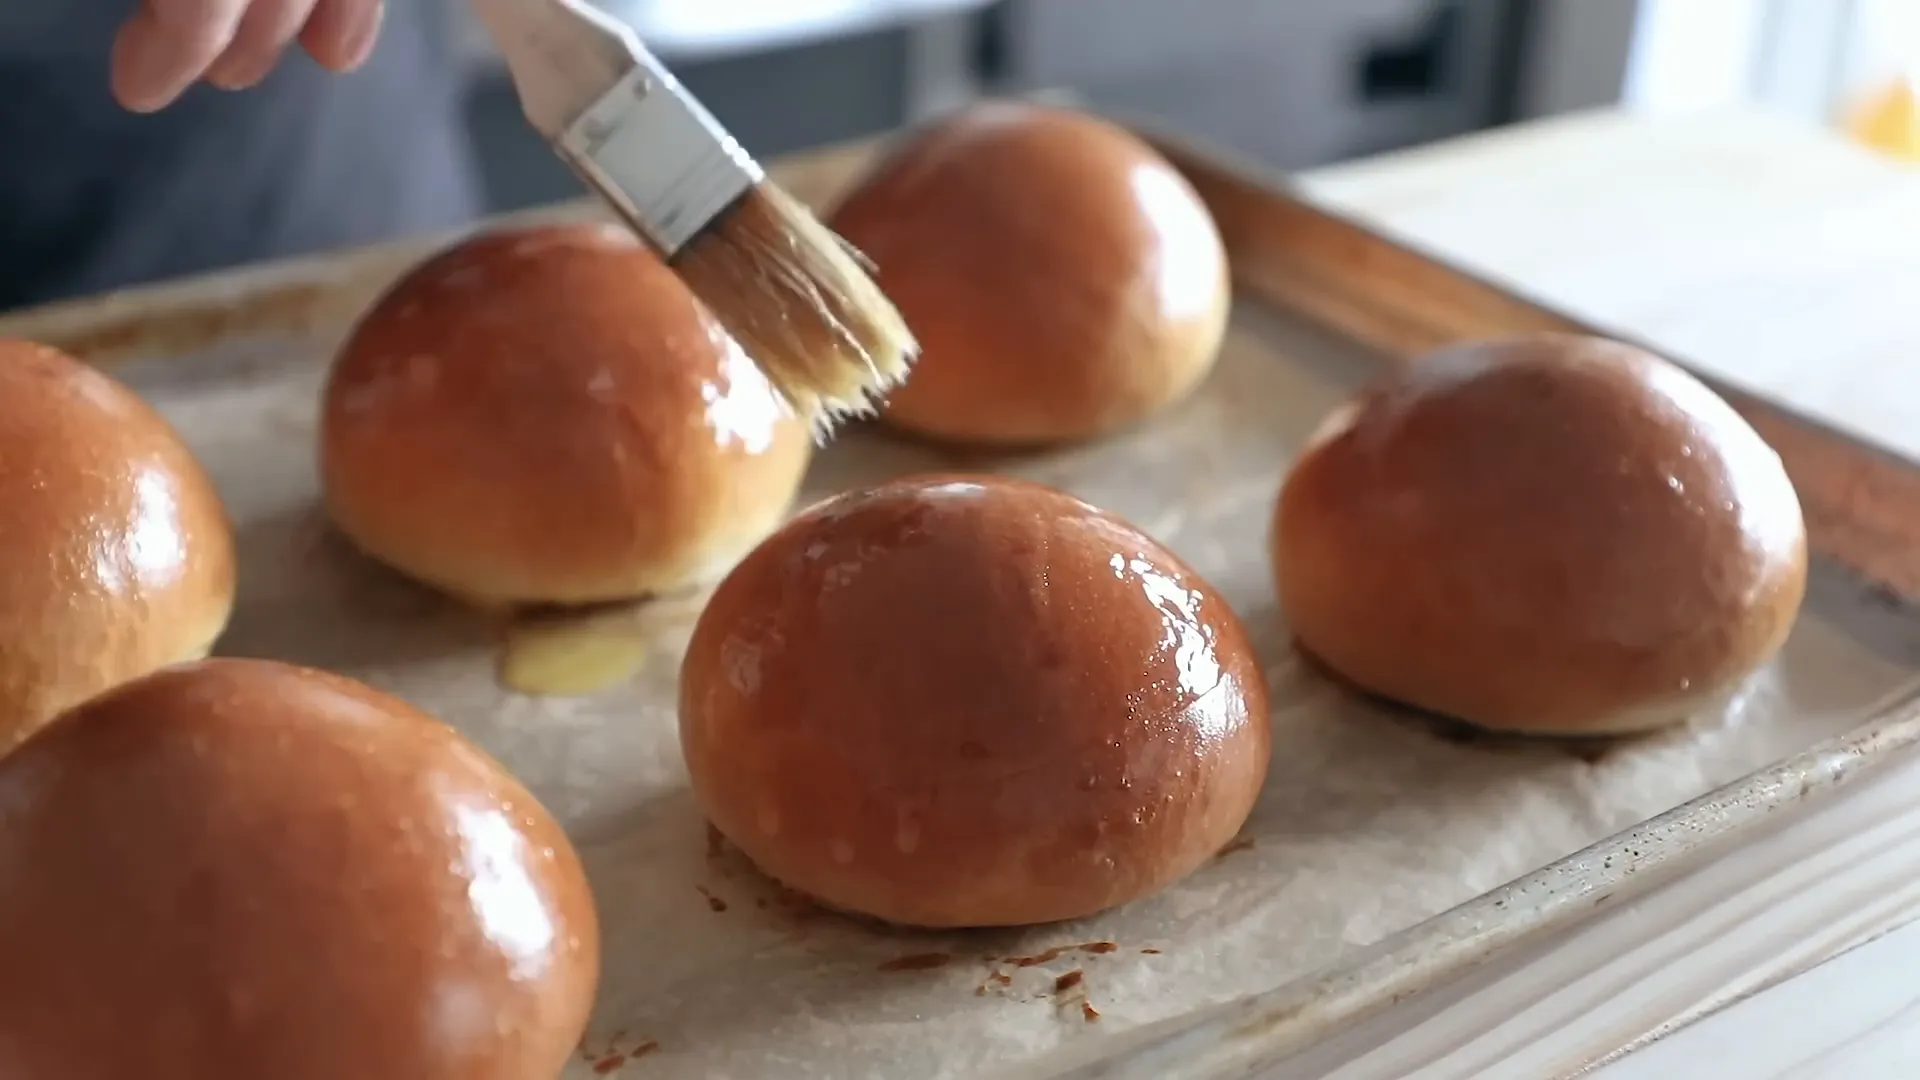
The foundation of a great chicken sandwich is the bun. I’m using my Japanese milk bun recipe here because these buns are lofty, soft, slightly sweet, and have the perfect chew. They also have that beautiful shiny finish that just screams quality.
If you haven’t tried making these buns yet, the recipe is straightforward and absolutely worth it. The softness and slight sweetness of the milk bun complement the fried chicken perfectly, balancing textures and flavors.
Step 2: Marinate Your Chicken for Juicy, Flavorful Meat
Now for the star of the show: the fried chicken. I recommend using boneless, skinless chicken thighs—not breasts. Why? Thighs are much harder to overcook and stay juicy thanks to their fat content. Make sure to get the biggest thighs you can find and don’t trim off all the fat; that fat is what keeps the chicken juicy and flavorful.
To make the marinade, combine:
- 2 cups (473 ml) buttermilk
- 2 teaspoons (10 g) kosher salt
- 2 teaspoons (7 g) garlic powder
- 1 teaspoon (4 g) serrano powder (or use another spicy powder if you prefer)
Whisk this together and submerge 4 to 6 chicken thighs in the marinade. Cover with plastic wrap and refrigerate for at least an hour, but overnight is best for maximum flavor and tenderness.
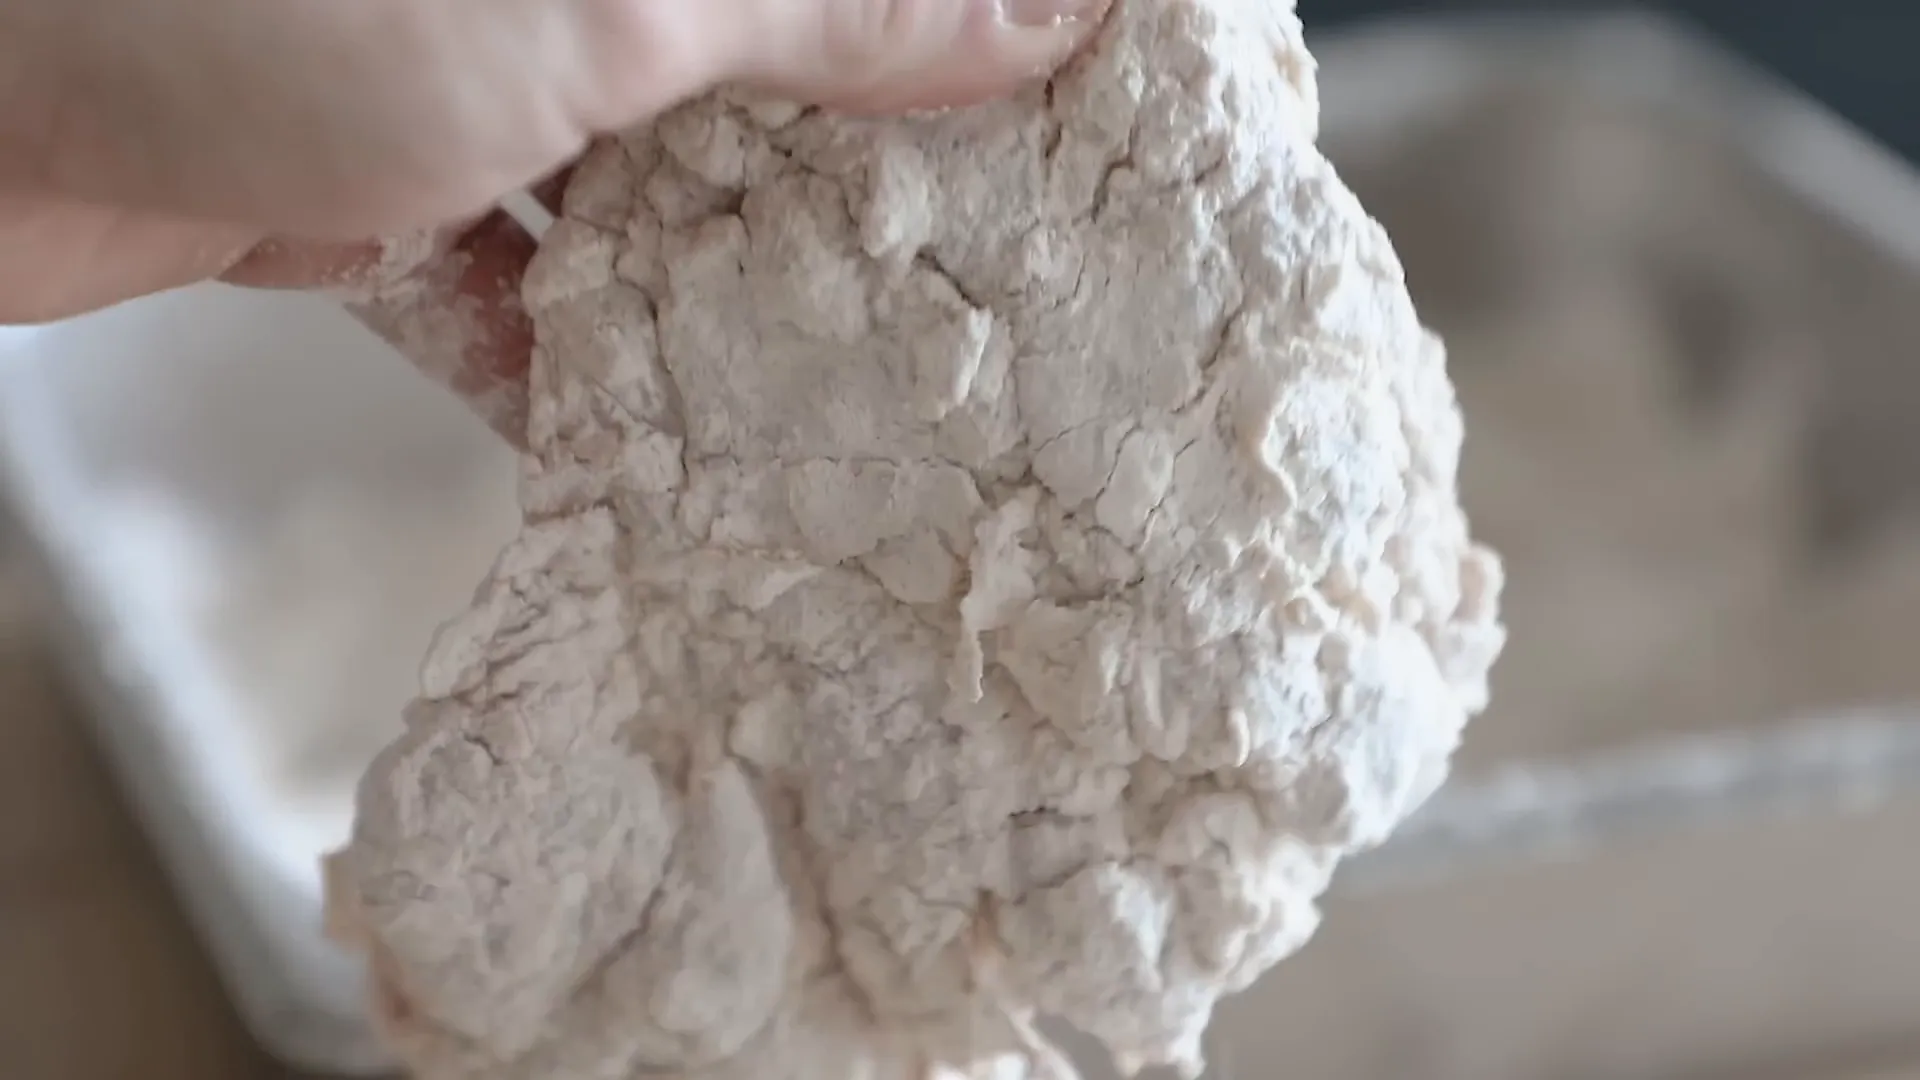
Step 3: Prepare the Dredge for Maximum Crispiness
The dredge is what creates that crave-worthy, crispy crust. Here’s what I mix into 3 cups (395 g) of all-purpose flour:
- 2½ teaspoons (13 g) kosher salt
- 1½ teaspoons (6 g) smoked paprika
- 2 teaspoons (7 g) garlic powder
- 1 teaspoon (4 g) oyster mushroom powder (optional, adds umami)
- ½ teaspoon (2 g) fresh black pepper
- 1 teaspoon (4 g) cayenne pepper (more if you want extra heat)
Here’s a pro tip: add a couple of spoonfuls of the buttermilk marinade straight into the flour and toss it around before dredging. This helps create those flaky, crispy bits we all love.
Take each piece of marinated chicken, dredge it thoroughly in the flour mixture, pressing the flour into every crevice. Shake off the excess and place the coated chicken on a baking sheet while you finish the rest.
Step 4: Frying the Chicken to Golden Perfection
Safety first: use a large, deep pan or pot and fill it no more than halfway with oil—about 2 inches deep. Fit it with a thermometer and heat the oil to 350°F (176°C). This temperature is key to getting a crispy crust without burning or undercooking the chicken.
Fry the chicken in batches—one or two pieces at a time. Drop the chicken carefully away from you to avoid oil splashes. Maintain the temperature as best you can and fry for 6 to 10 minutes, until the chicken is golden brown and the internal temperature hits 165°F (73°C).
Once cooked, place the chicken on a wire rack to drain and cool slightly. This keeps the crust crispy and prevents sogginess.
Step 5: Make a Flavor-Packed Black Garlic Mayo
No chicken sandwich is complete without a killer sauce. For mine, I mix:
- ¾ cup (177 ml) mayonnaise
- 8 cloves black garlic, pureed
- 1 tablespoon (16 g) spicy hot sauce (I used homemade lacto-fermented habanero sauce)
- Kosher salt to taste
- 1 teaspoon (5 g) smoked paprika
- Lemon juice to taste
Mix it all together until smooth and flavorful. The black garlic adds a sweet, umami depth that elevates the mayo beyond your average sandwich spread.
Step 6: Upgrade Your Pickles – Cut Them Lengthwise
One gripe I had with the original sandwich was the pickle placement. Usually, pickles are cut in rounds, which leaves a lot of empty space on the bun. Instead, I cut mine lengthwise into planks, about a quarter-inch thick. This way, they cover more surface area, ensuring every bite has that perfect tangy crunch.
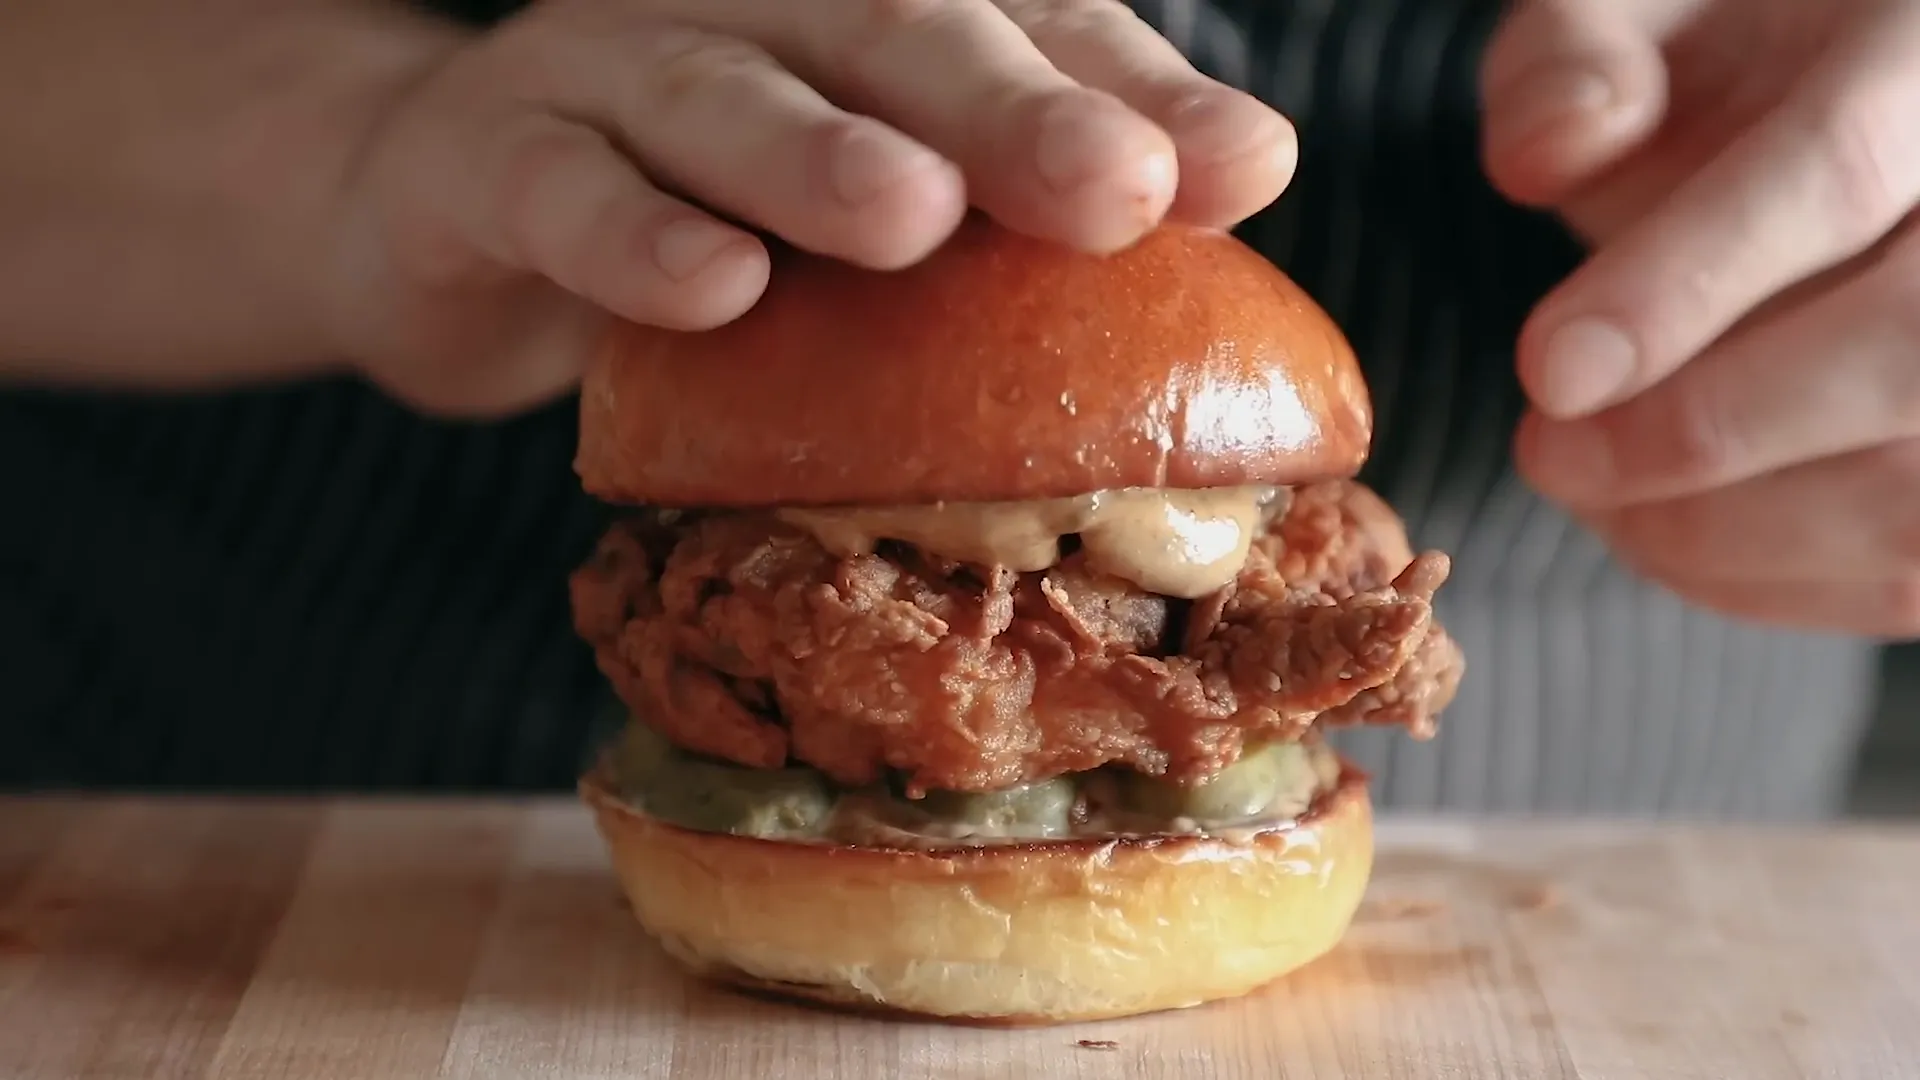
Step 7: Assemble Your Masterpiece
Time to put it all together:
- Toast your buns—don’t skip this step; it adds texture and flavor.
- Generously spread the black garlic mayo on the bottom bun. Don’t be shy; this sauce is part of the magic.
- Layer the pickle planks evenly—no bald spots allowed.
- Spread more mayo on the top bun, a little thicker in the center to help it spread when you press down.
- Place your crispy fried chicken thigh on top of the pickles.
- Cap it with the top bun.
Final Thoughts: Why This Sandwich Wins
Here’s the deal: I put my sandwich side-by-side with the famous Popeyes chicken sandwich, and while the original is good, my homemade version nails it on every level. The bun is softer, the pickles are perfectly placed for maximum flavor in every bite, and the buttermilk-marinated chicken thigh is juicier and way more flavorful.
Plus, the crispy coating on my chicken has a satisfying crunch that I think even fresh Popeyes can’t quite match. If you don’t want to make this at home, no judgment—but if you do, you’re in for a serious treat.
So go ahead, try this cooking recipe for yourself and enjoy a tasty recipe that elevates the classic American recipe of the fried chicken sandwich. Whether you’re a fan of the original or looking for a new favorite, this sandwich is a winner in my book.
And hey, if you loved this recipe and learned something new, consider sharing it with your friends and family. After all, good food is meant to be enjoyed together!
This article was created from the video Making The Popeyes Chicken Sandwich At Home, But Better with the help of AI.
Making The Popeyes Chicken Sandwich At Home, But Better: A Cooking Recipe You’ll Love. There are any Making The Popeyes Chicken Sandwich At Home, But Better: A Cooking Recipe You’ll Love in here.

