If you love the classic ice cream truck Drumstick cones from your childhood, you’re going to adore these Drumstick Sundae Jars. Created by Chef John from Food Wishes, this recipe takes that nostalgic favorite and elevates it with better ingredients and a clever jar presentation that delivers that signature crunchy chocolate and peanut coating in every bite. This step-by-step guide will show you how to make these delightful sundae jars, perfect for summer treats or any time you want an easy recipe that impresses.
Step 1: Prepare the Sugar Cone Garnish
Start with some sugar cones and a thin serrated knife to create an optional but highly recommended garnish. Gently saw around each cone about two inches from the tip to score it. Then snap off the tip to make a sharp, pointy “cone horn” garnish for the top of your sundae jars. This little detail adds a playful and attractive touch—plus, it’s a proven fact that people love pointy food!
Once you’ve made the garnishes, place the remaining cones into a bag and give them a gentle smash to break them into smaller pieces. You'll only need the four cones you trimmed for this, so no need to crush extras unless you want backups.
Step 2: Create Your Chocolate Peanut Wafers
Next, grab the jars you’ll be using and trace circles on parchment paper by placing the jar bottoms down and drawing around them with a pencil. For four jars, you’ll need about twelve circles to cover the layers. Flip the parchment over afterward to avoid pencil marks touching your chocolate.
Now, melt half a cup of dark chocolate chips in the microwave until completely fluid, but before melting, remove two tablespoons of chips and set them aside. Once melted, stir in the reserved chocolate chips to gently temper the chocolate — this ensures your wafers will cool with a nice crisp snap, mimicking the classic drumstick shell.
Spread a rounded teaspoon of the tempered chocolate onto each circle, keeping the layer thin but not so thin it cracks when removed. For four of these circles, dip the base of your cone horns into the chocolate and place them in the center. This step is optional but highly encouraged for that authentic look.
Step 3: Add the Peanuts
Sprinkle roasted and salted chopped peanuts generously over all the exposed chocolate on your circles. This is the best part of the drumstick experience—those crunchy peanuts embedded in the chocolate shell. Make sure to use roasted and salted peanuts for the best flavor; unroasted or unsalted peanuts just won’t have the same punch.
After adding peanuts, place ramekins or small weights on the corners of the parchment paper to keep it flat and allow the chocolate to harden completely. Once set, carefully peel each wafer off the parchment. You’ll have thin, crispy chocolate peanut wafers that perfectly replicate the mouthfeel of the original drumstick cone.
Step 4: Coat the Crushed Cones with Chocolate
While the chocolate is still soft, add a couple of big spoons of chocolate to your crushed cones and stir to partially coat the pieces. You don’t need complete coverage, but the more coated pieces, the more flavorful and crunchy your sundae layers will be. If the chocolate hardens before you finish, just zap it in the microwave for a few seconds to soften it again.
Spread the coated crushed cones on parchment in a thin layer and let them harden. Once firm, these will be ready to crumble and layer inside your sundae jars.
Step 5: Assemble the Drumstick Sundae Jars
Keep your jars chilled in the freezer until ready to assemble—cold jars help keep the ice cream from melting too quickly. Begin by adding a scoop of vanilla ice cream to the bottom of each jar, then top with some of the chocolate-covered crushed cone pieces. Use a spoon to firmly pack this layer down.
Add another layer of vanilla ice cream, then press one of your crispy chocolate peanut wafers on top. Repeat with another layer of ice cream and crushed cone mixture, followed by a final chocolate peanut wafer. Don’t worry if the wafers break during assembly; the layers will hide any imperfections.
Finally, fill the jar to the top with vanilla ice cream and smooth it out. Place one of the cone horn garnishes on top for a fun finishing touch, and pop the jars back into the freezer to set.
Enjoy a Nostalgic Treat with a Modern Twist
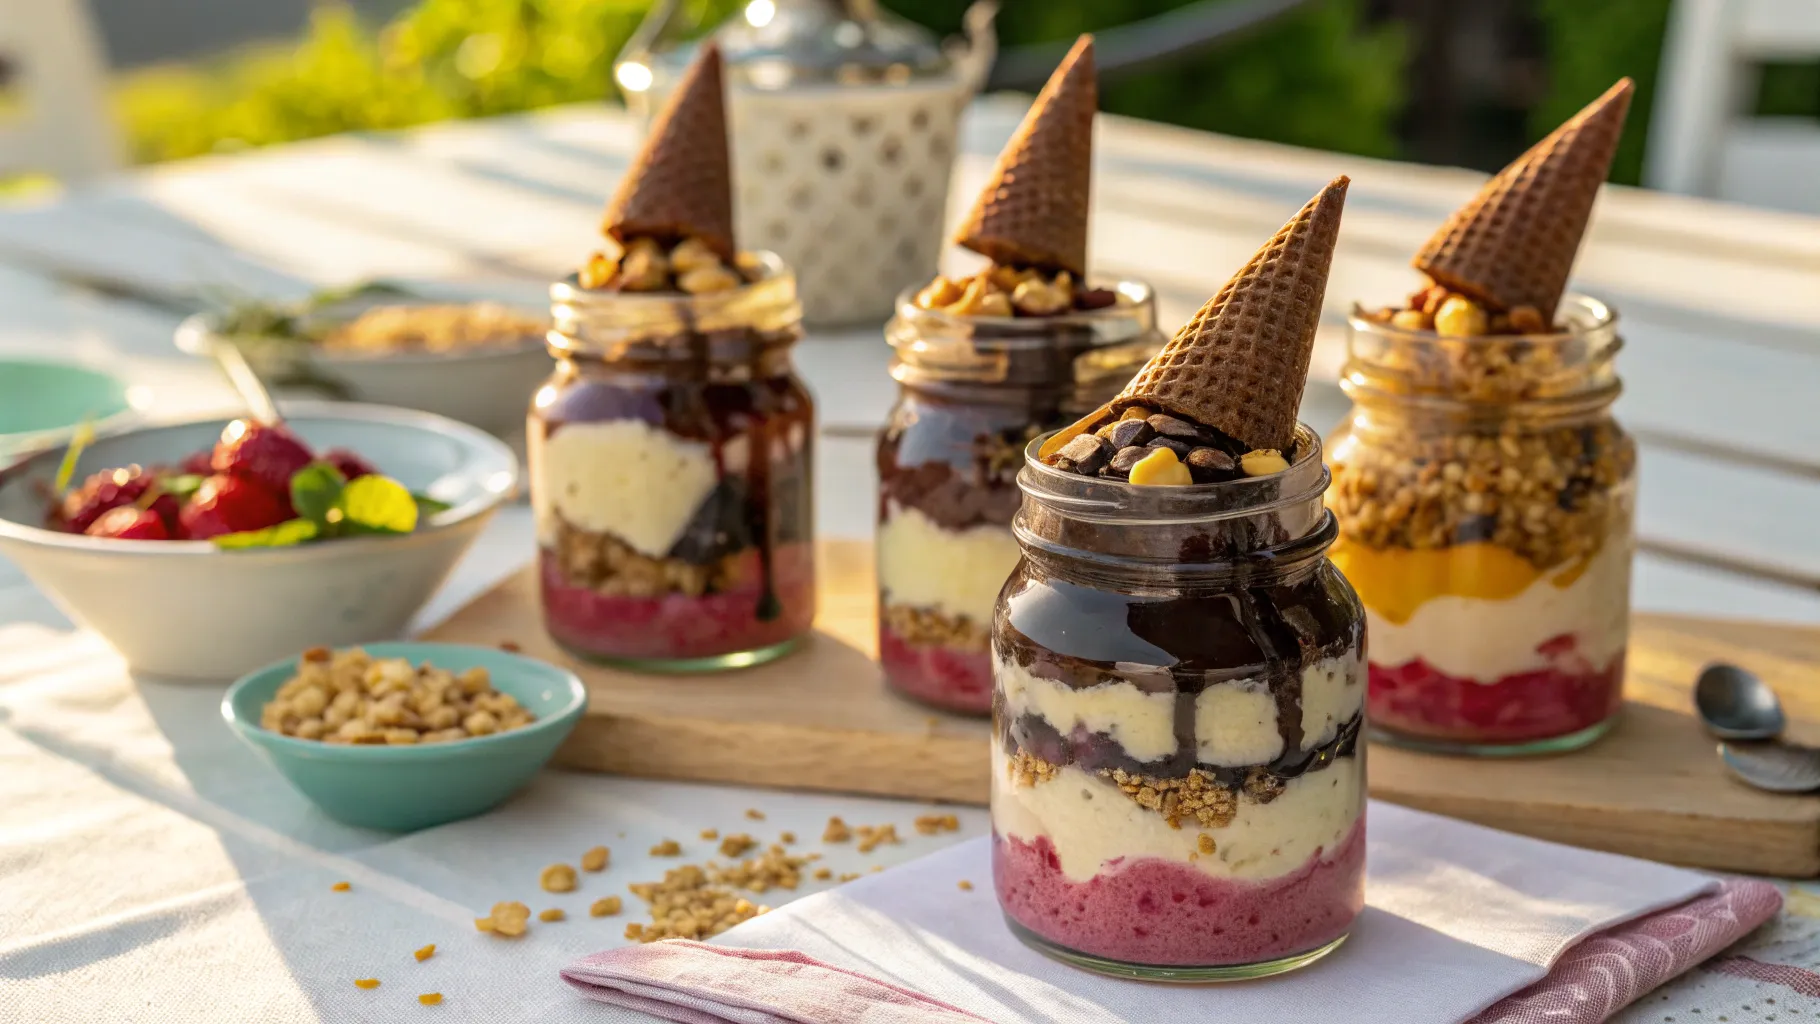
When it’s time to serve, bring the jars out on a beautiful platter for a charming and delicious presentation. These Drumstick Sundae Jars capture the essence of that beloved ice cream truck treat from childhood but with a big upgrade. Using better quality ingredients and layering the crunchy chocolate peanut wafers throughout means you get that satisfying texture and flavor in every bite—no more losing the best part after just a couple of bites.
While it might be tempting to shortcut by just mixing peanuts and chocolate chips into ice cream, the time spent making the crispy wafers is well worth it. They provide the exact crunchy texture that makes the original drumstick so irresistible. Plus, you can customize these jars with caramel or peanut butter variations for endless fun.
So, if you want to experience peak drumstick perfection, this easy recipe is a must-try. Follow the simple steps above, and you’ll have a crowd-pleasing dessert that’s as fun to make as it is to eat!
For the full printable recipe and ingredient amounts, be sure to visit here. You can also explore more of Chef John’s delicious recipes by joining the Food Wishes community.
Drumstick Sundae Jars: A Fun and Easy Recipe for the Ultimate Ice Cream Treat. There are any Drumstick Sundae Jars: A Fun and Easy Recipe for the Ultimate Ice Cream Treat in here.

